I Turned My Girlfriend's Ancient Laptop Into a Usable Machine With Linux Mint
A $0 OS swap turned a sluggish HP Pavilion running Windows 11 on 4 GB of RAM into a genuinely responsive daily machine, and I was surprised by how much Linux Mint could actually do on this hardware.
Who This Is For
If any of these apply to you, keep reading:
- You have an old laptop sitting around that’s too slow to be useful but too functional to throw away.
- You’ve heard of Linux but assumed it meant living in a terminal and compiling things from source.
- You’re on a tight budget and a new machine isn’t an option.
- Or you’re just curious whether a lightweight Linux distro can actually replace Windows for everyday use.
This post covers all of it: why I chose Linux Mint, what you need to get started, and a full walkthrough of the installation process.
The Machine
My girlfriend’s HP Pavilion Laptop had been sitting at the intersection of “technically functional” and “practically unusable” for a while. The specs tell the story:
- CPU: Intel Core i3-8130U @ 2.20 GHz
- RAM: 4 GB DDR4 (2400 MHz)
- Storage: 119 GB
- GPU: Intel UHD Graphics 620
- OS: Windows 11 Home 23H2
4 GB is Microsoft’s documented minimum for Windows 11. Running at the floor of a system’s requirements is a different experience from meeting them comfortably. Opening Chrome was a negotiation. Every Windows Update ran in the background like it had nowhere else to be. Hardware upgrades weren’t in the budget.
The options were: buy a new laptop, reinstall Windows 11 and accept the same result, or switch operating systems entirely. We went with the third one.
Why Linux Mint
There are dozens of Linux distributions, and picking one when you haven’t used Linux before is genuinely confusing. Here’s the short version of why Mint made sense for this situation.
It is designed for people who aren’t Linux users. The interface is familiar. The menu works like a Start menu. The file manager works like File Explorer. You don’t need to touch a terminal to install apps or change settings. That matters when the person using the machine daily isn’t a tech person and doesn’t want to be.
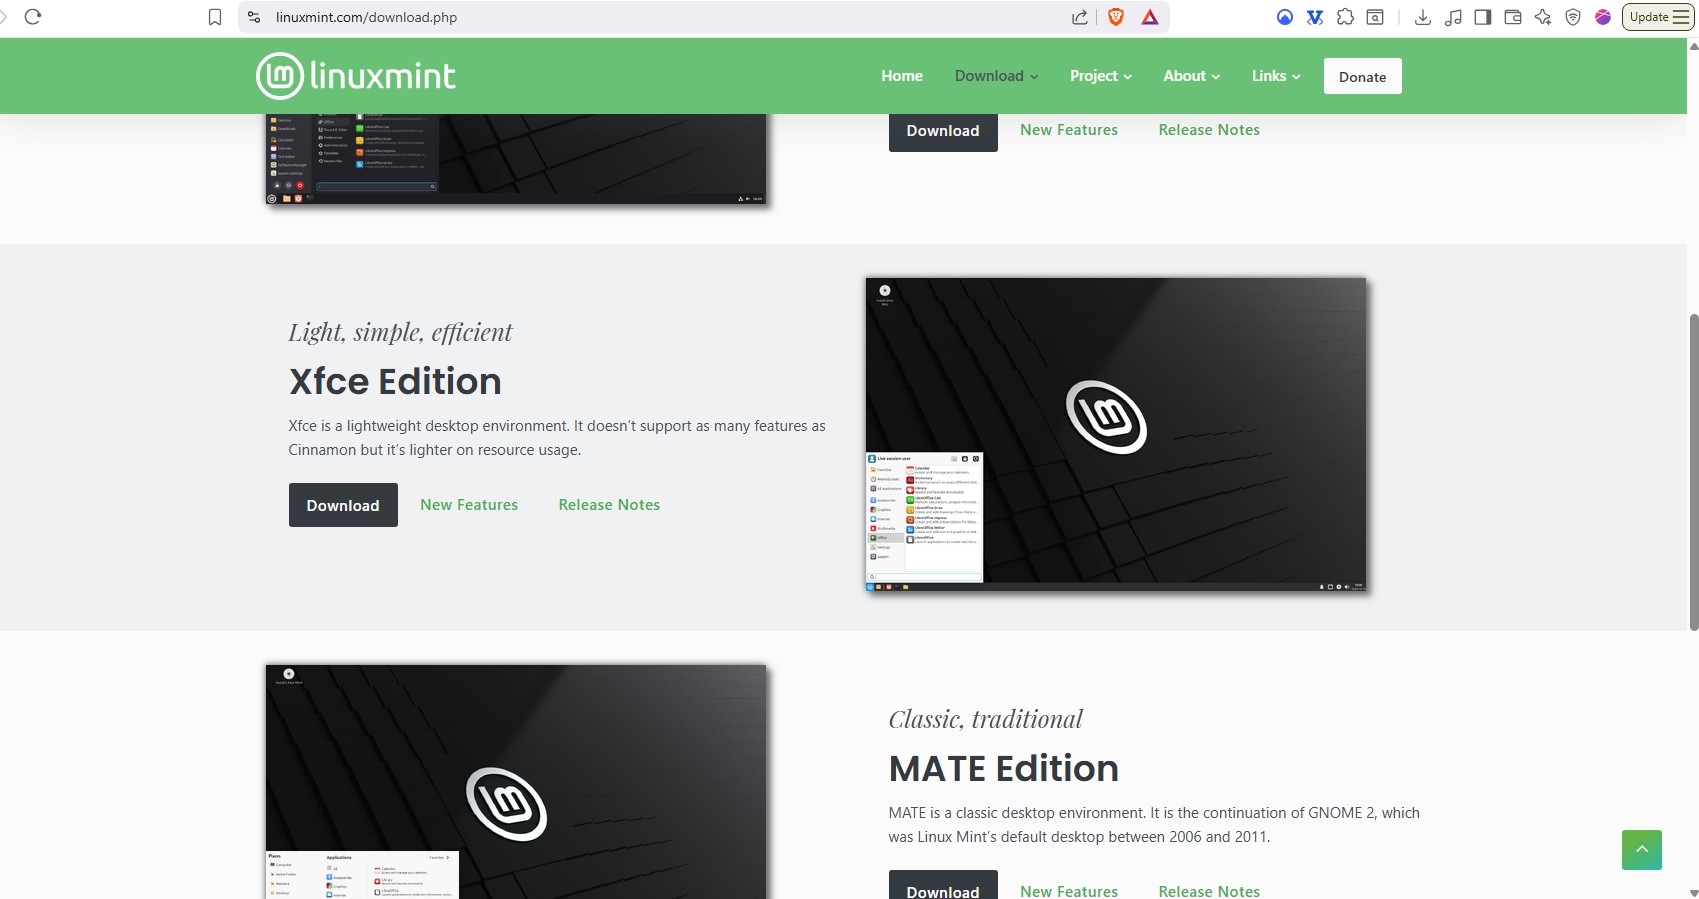
The XFCE edition is built for low spec hardware. Mint comes in three desktop flavors: Cinnamon, MATE, and XFCE. Cinnamon is the flagship and looks the best, but it’s heavier. XFCE is the lightweight option. On a machine with 4 GB of RAM, XFCE is the right call.
It just works. WiFi, display, touchpad, audio, all detected and configured on first boot. No digging for drivers, no manual configuration. For a laptop revival project, that reliability matters.
You can go back. Your Windows 11 license is tied to the hardware, not the OS installation. If you wipe and install Mint and decide it’s not for you, reinstalling Windows 11 from a USB later will reactivate automatically.
What You Will Need
Before starting, make sure you have the following:
A USB drive, at least 8 GB. I used a 64 GB drive. Any size above 8 GB works. The drive will be wiped during this process, so make sure there’s nothing on it you need.
A working internet connection during setup. Not strictly required, but the installer will download multimedia codecs during setup if you’re connected, which saves steps later.
The Linux Mint XFCE ISO. Download it from the official Mint site: https://www.linuxmint.com/download.php . The file is roughly 3 GB.
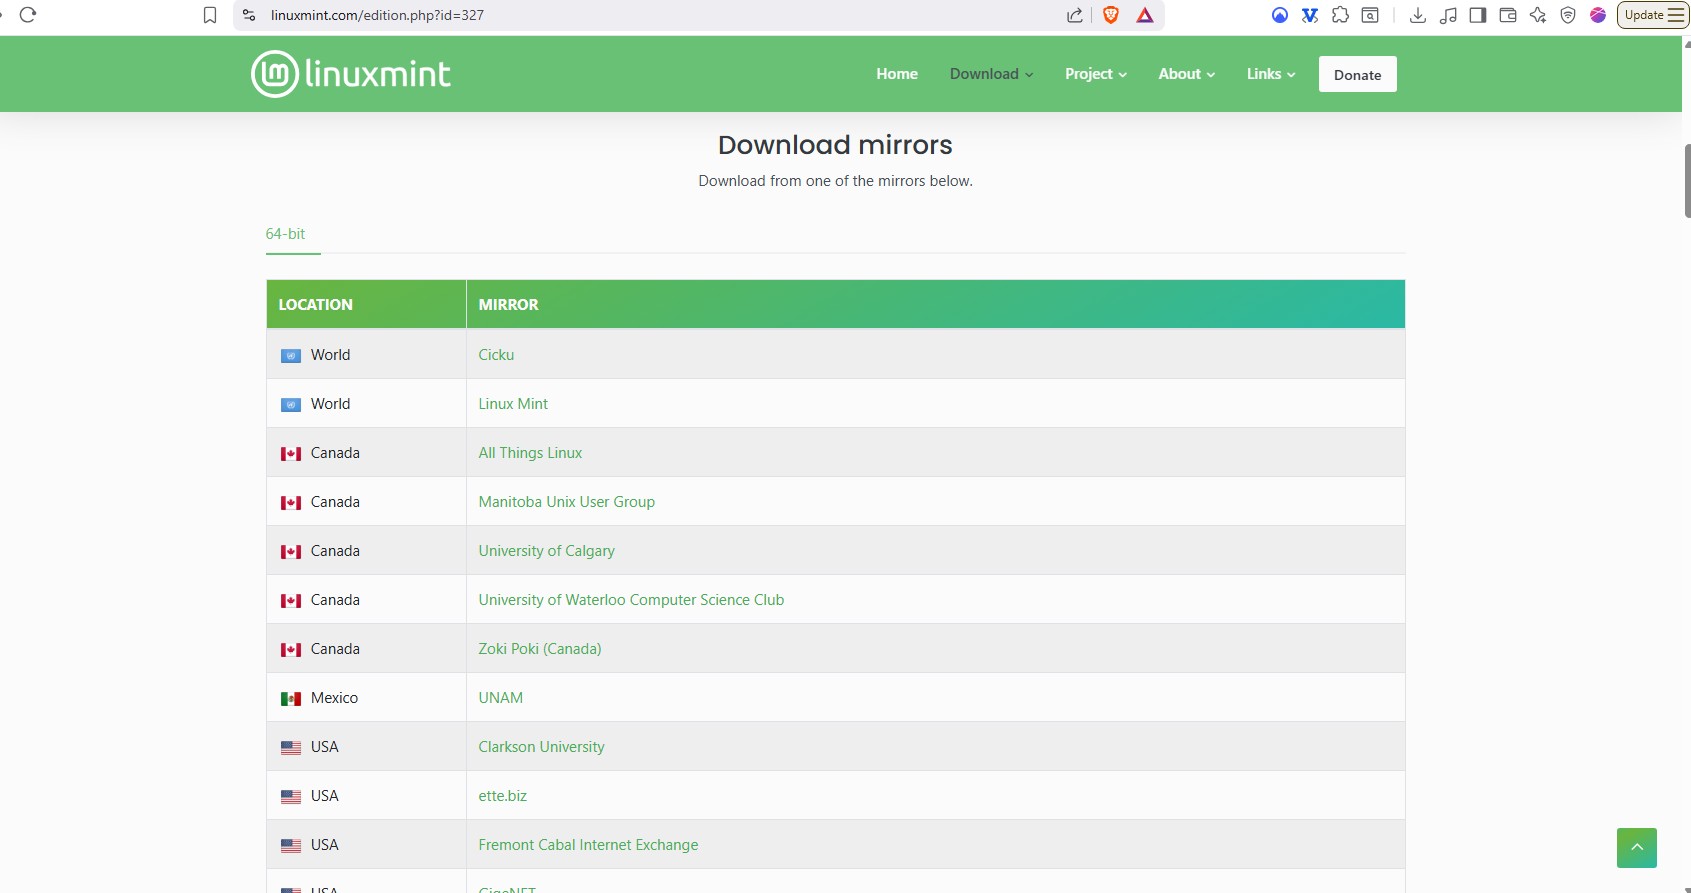
On the download page you can choose from a list of mirrors hosted around the world. Pick the one geographically closest to you for best download speed. Before closing that page, also download the sha256sum.txt file listed alongside the edition. You’ll use it in the next step to verify the download is intact.
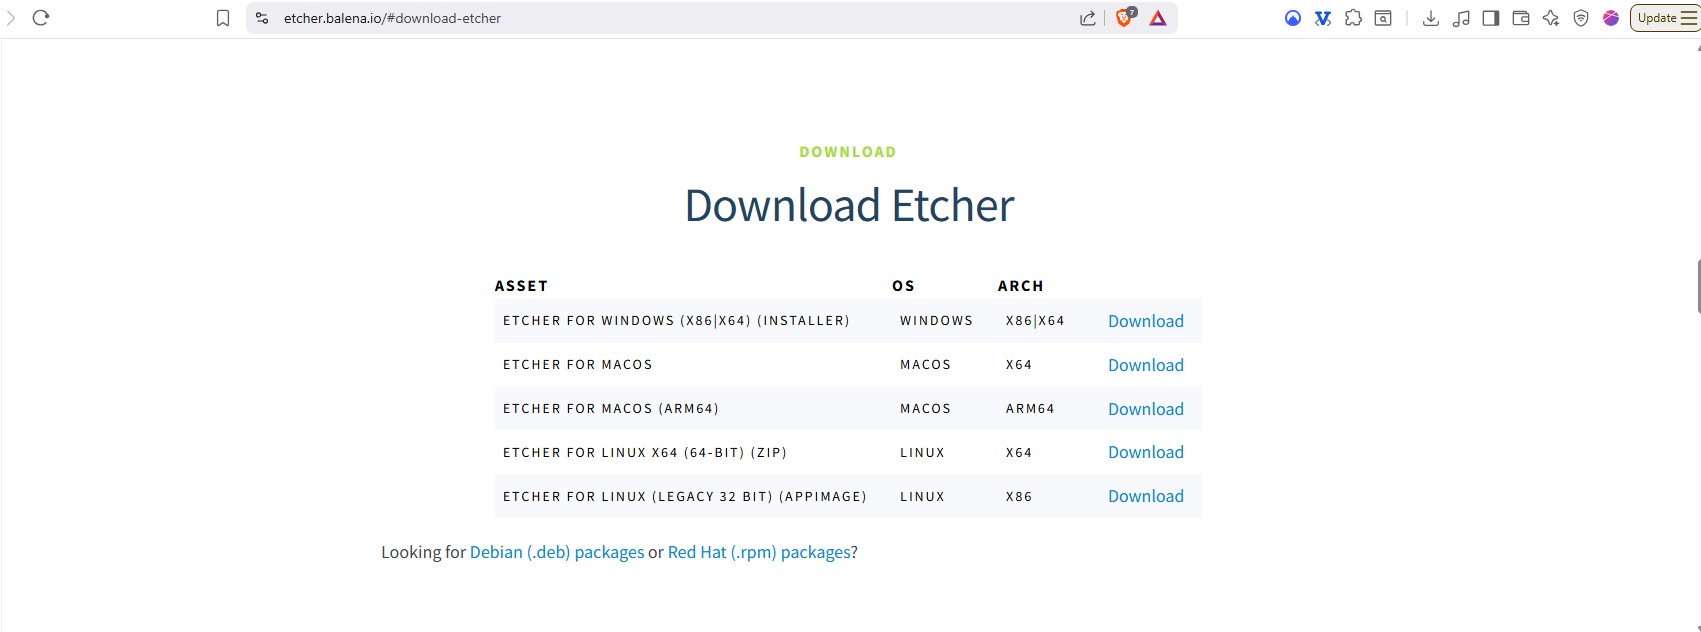
balenaEtcher. This is the tool that writes the ISO to your USB drive. Download it from https://etcher.balena.io/#download-etcher . It runs on Windows, macOS, and Linux.
Your important files backed up. This installation will wipe the entire internal drive. Documents, photos, browser bookmarks, passwords. Back them up before you start.
The Installation
Step 1: Verify the ISO
Before flashing anything to a USB drive, verify the file you downloaded is intact. You’ll probably be fine going with one of the mirrors on the official site, but this takes 30 seconds and rules out a whole category of frustrating install failures.
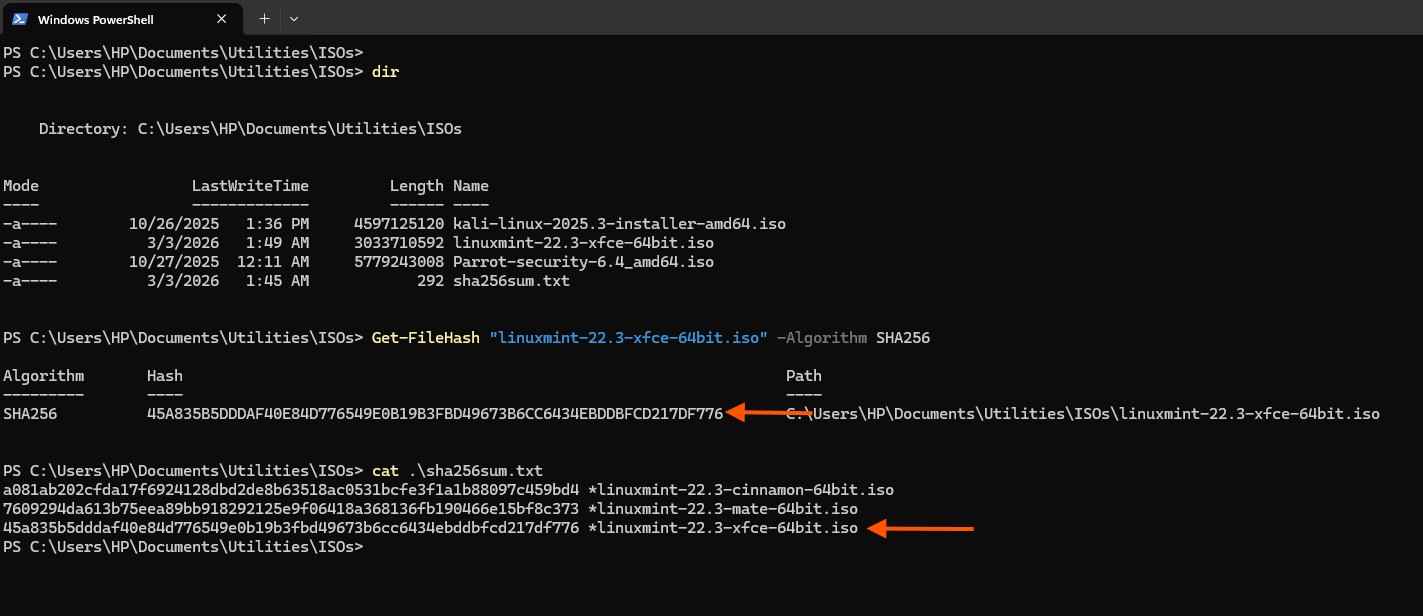
On Windows, open PowerShell and run:
Get-FileHash "C:\Users\YourName\Downloads\linuxmint-22.3-xfce-64bit.iso" -Algorithm SHA256Compare the output against the SHA256 hash listed on the Mint download page next to the XFCE edition (file I suggested to download earlier). They should match exactly. If they don’t, re-download the ISO.
Step 2: Flash the USB Drive
Open balenaEtcher.
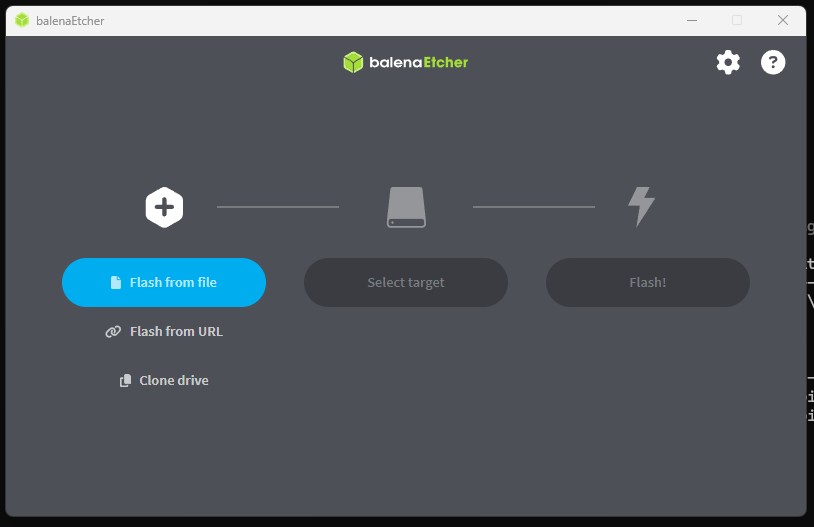
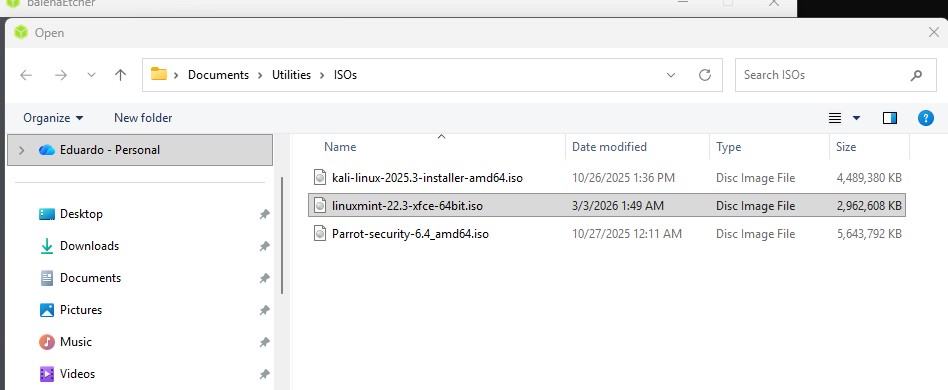
- Click Flash from file and select the ISO you downloaded.
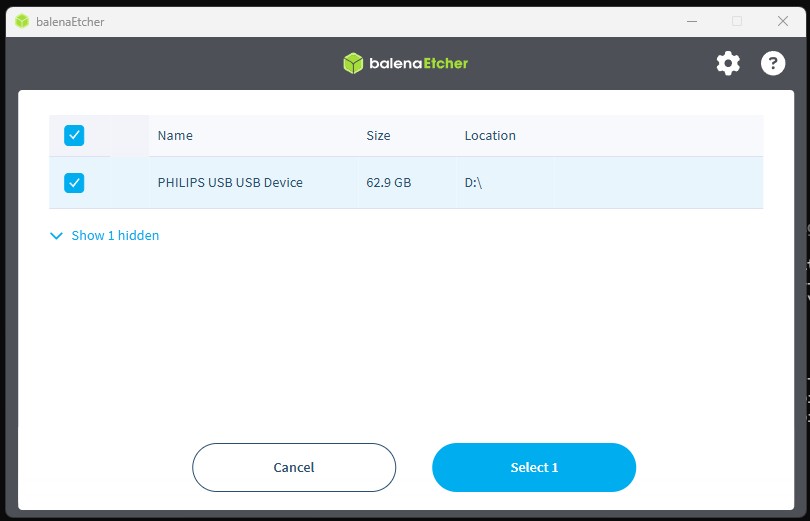
- Click Select target and choose your USB drive. Double-check it’s the right one as everything on it will be erased.
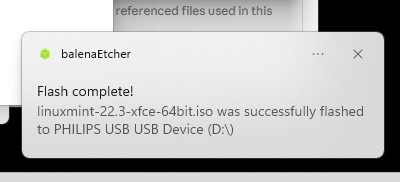
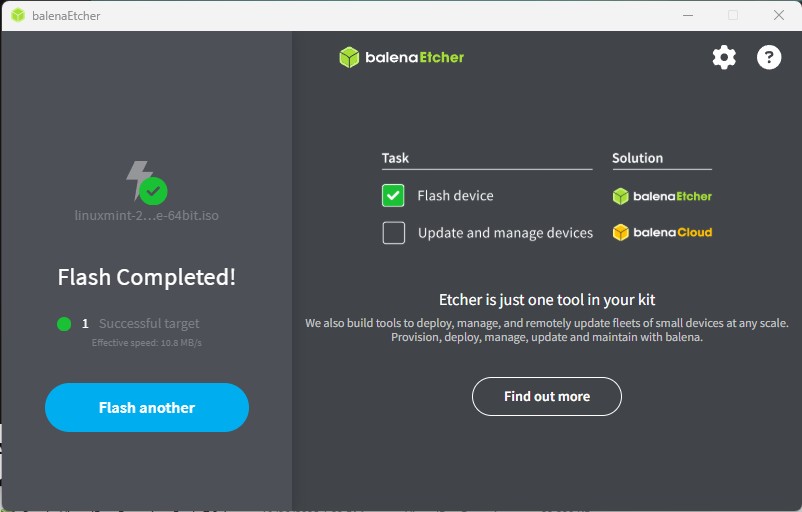
Click Flash! and wait. It takes a few minutes. balenaEtcher validates the write automatically when it finishes.
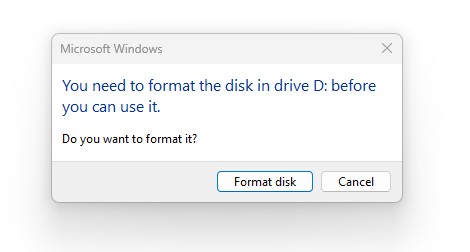
If the drive isn’t formatted already, you will be asked to format it before flashing. Proceed.
When the flash completes, the drive is ready. You can eject it.
Step 3: Boot From the USB
Shut down the laptop. Insert the USB drive.
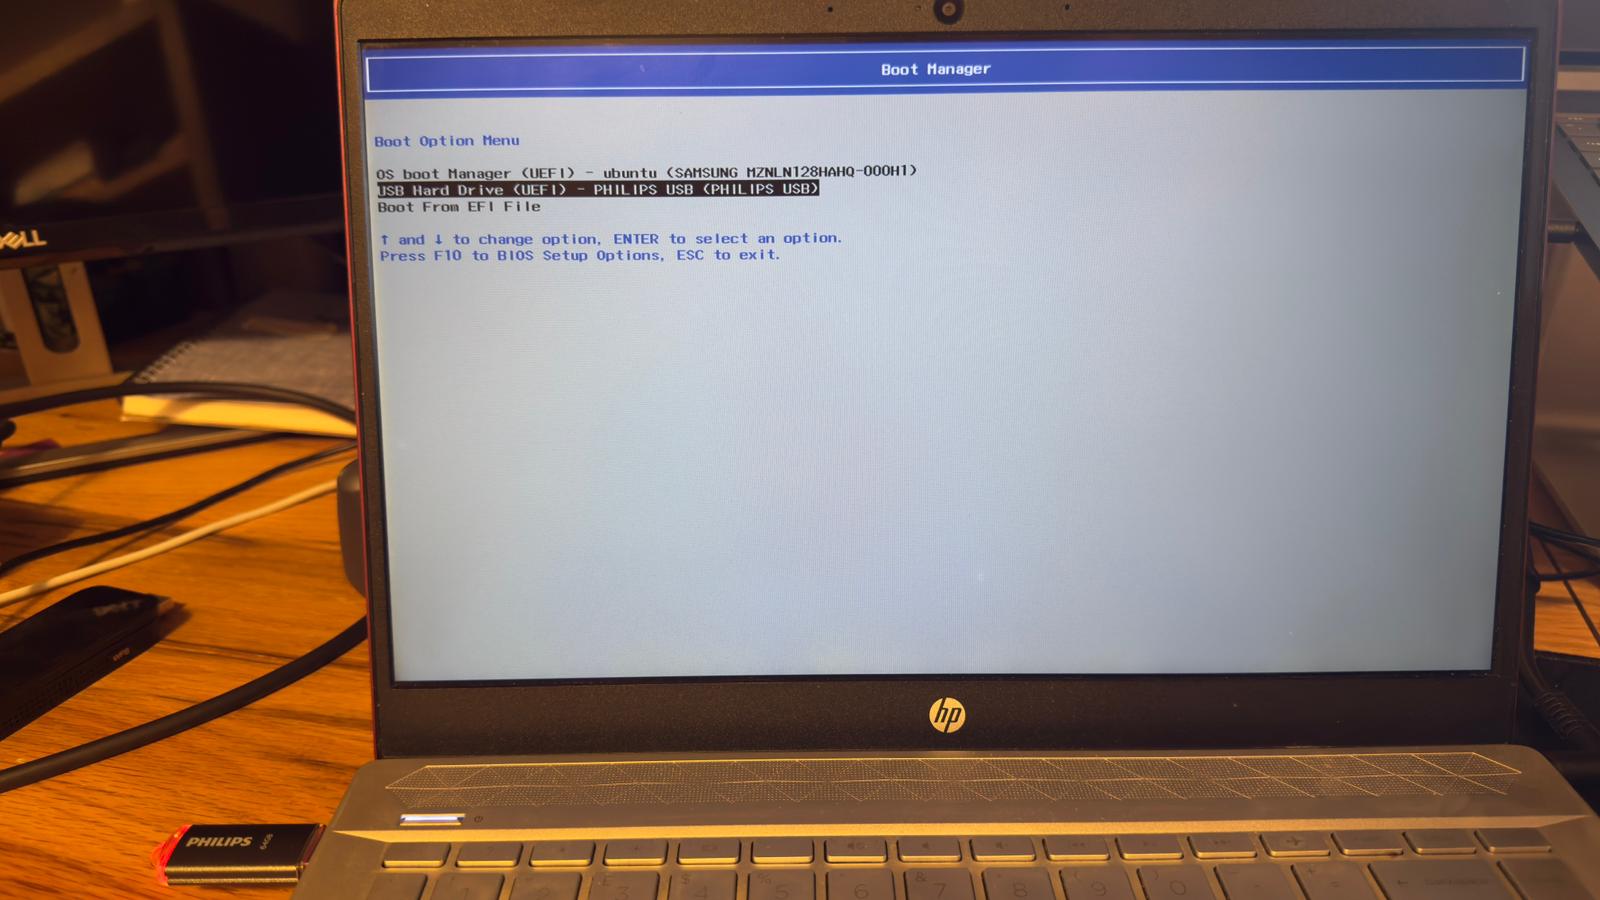
Power it back on and immediately start tapping Esc repeatedly. On HP laptops this opens the Startup Menu. From there, press F9 to open the Boot Device Options list. Select the USB entry, which will usually appear as something like UEFI: [your USB drive name].
If the Esc key doesn’t bring up the menu on your specific model, try pressing F9 directly during boot. Some HP configurations skip the intermediary menu.
Step 4: Test the Live Environment First
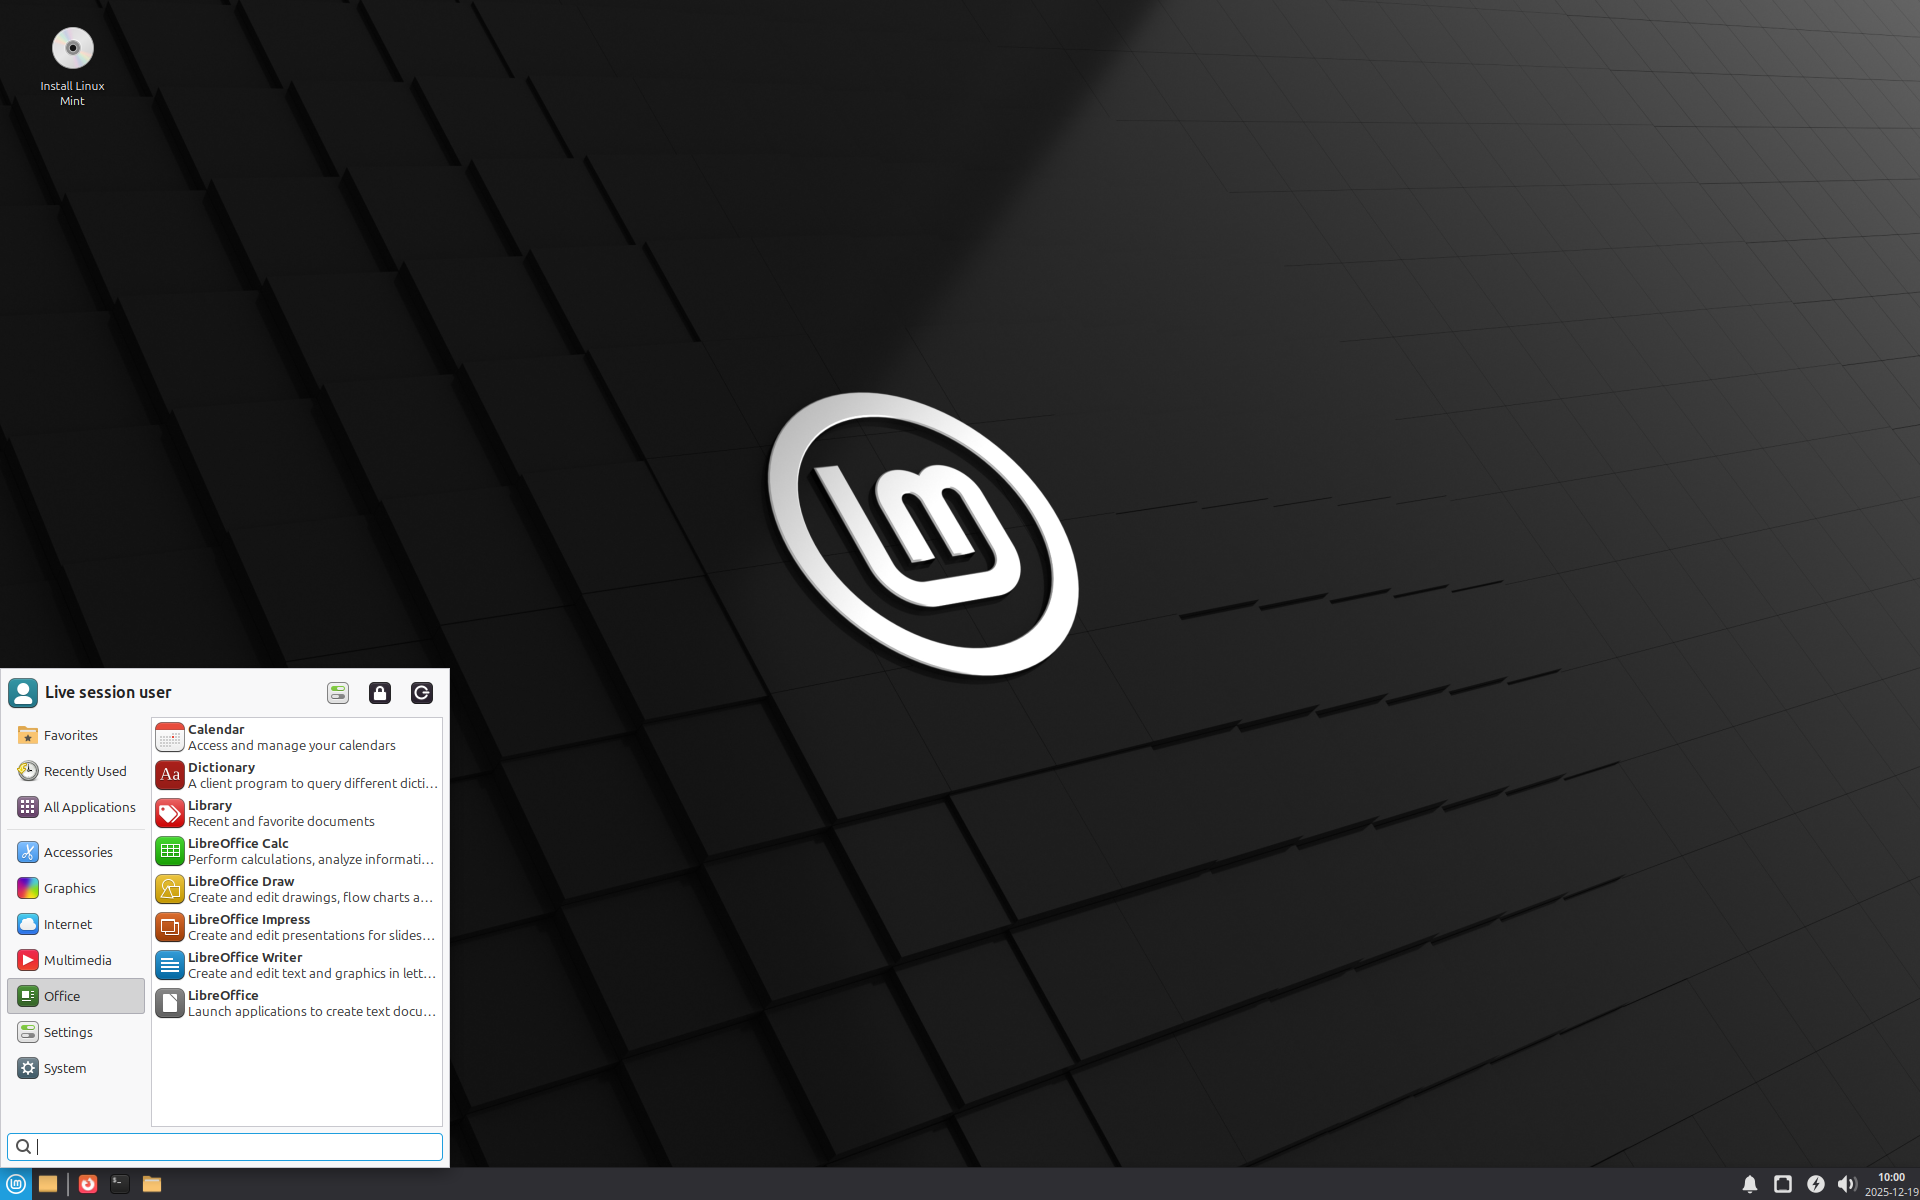
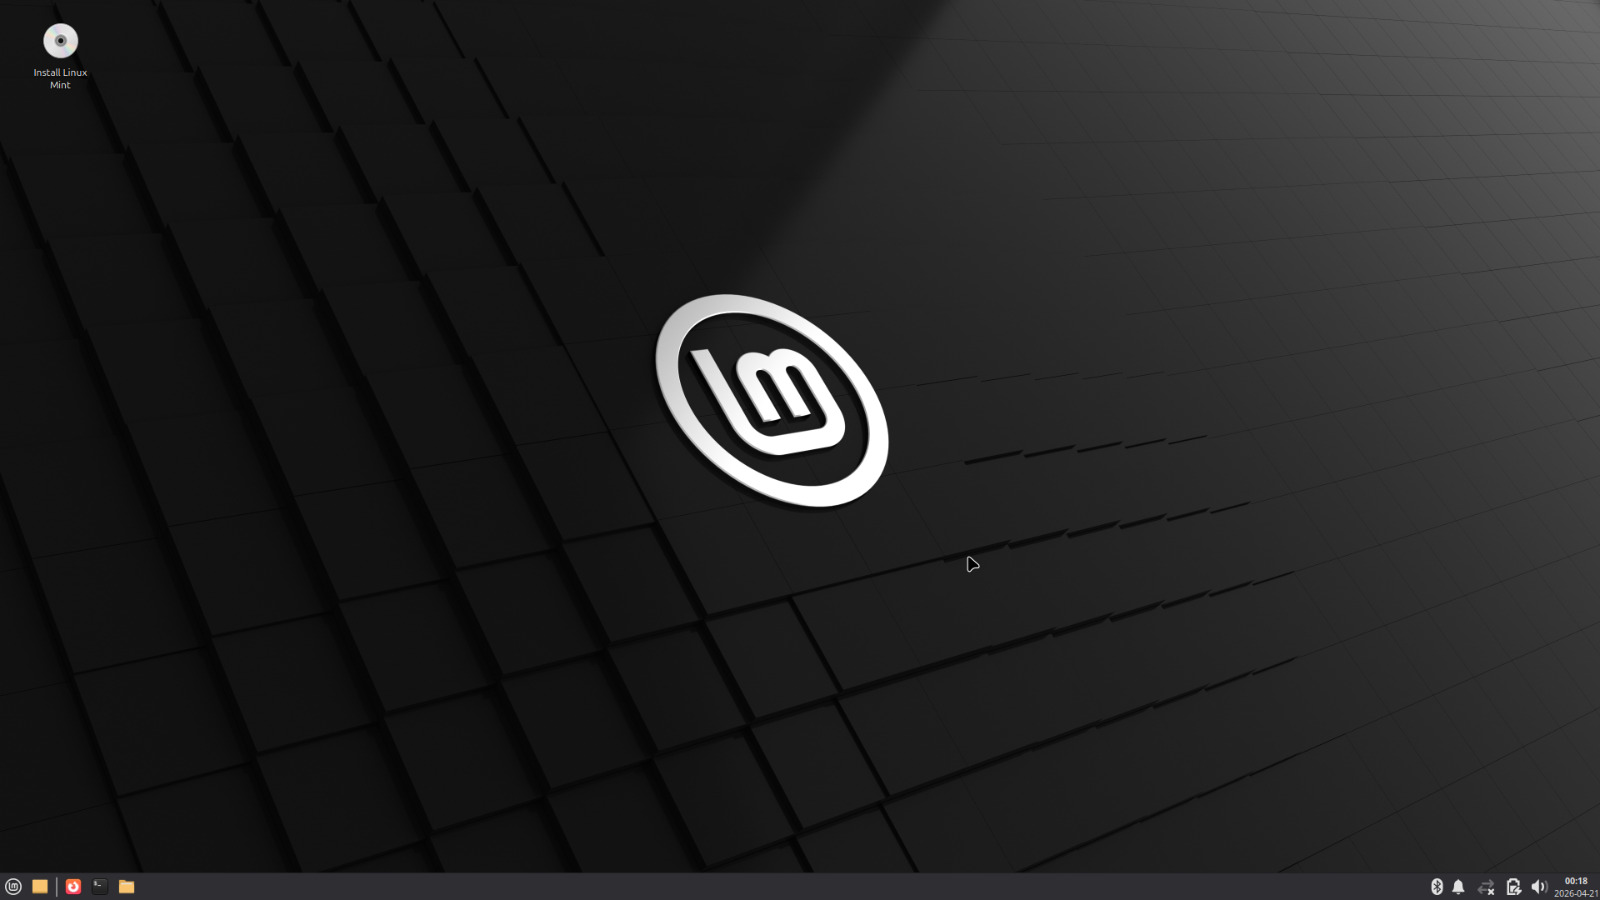
When the Mint boot menu appears, select Start Linux Mint. This loads a full working desktop directly from the USB without touching the internal drive. Nothing is installed yet.

Use this session to verify the basics work on your specific hardware: connect to WiFi, check audio, move the cursor, open the file manager. If something is broken in the live session, it will be broken after install too. Better to know now.
One note: the live session runs entirely from the USB drive, so it will feel slower than the installed system. Don’t judge performance here.
If the screen goes black after selecting Start Linux Mint, wait a few minutes first. This happened during my installation and I thought something had failed. The USB activity light was still blinking, which was the sign that it was still working. It came back on its own. If it doesn’t resolve after 10 minutes, reboot and at the boot menu highlight “Start Linux Mint”, press e, find the line containing quiet splash, replace it with nomodeset, and press F10 to boot. This forces software rendering and gets past most graphics-related boot issues on older Intel hardware.
Step 5: Run the Installer
On the live desktop, double-click Install Linux Mint.
Work through the installer screens:
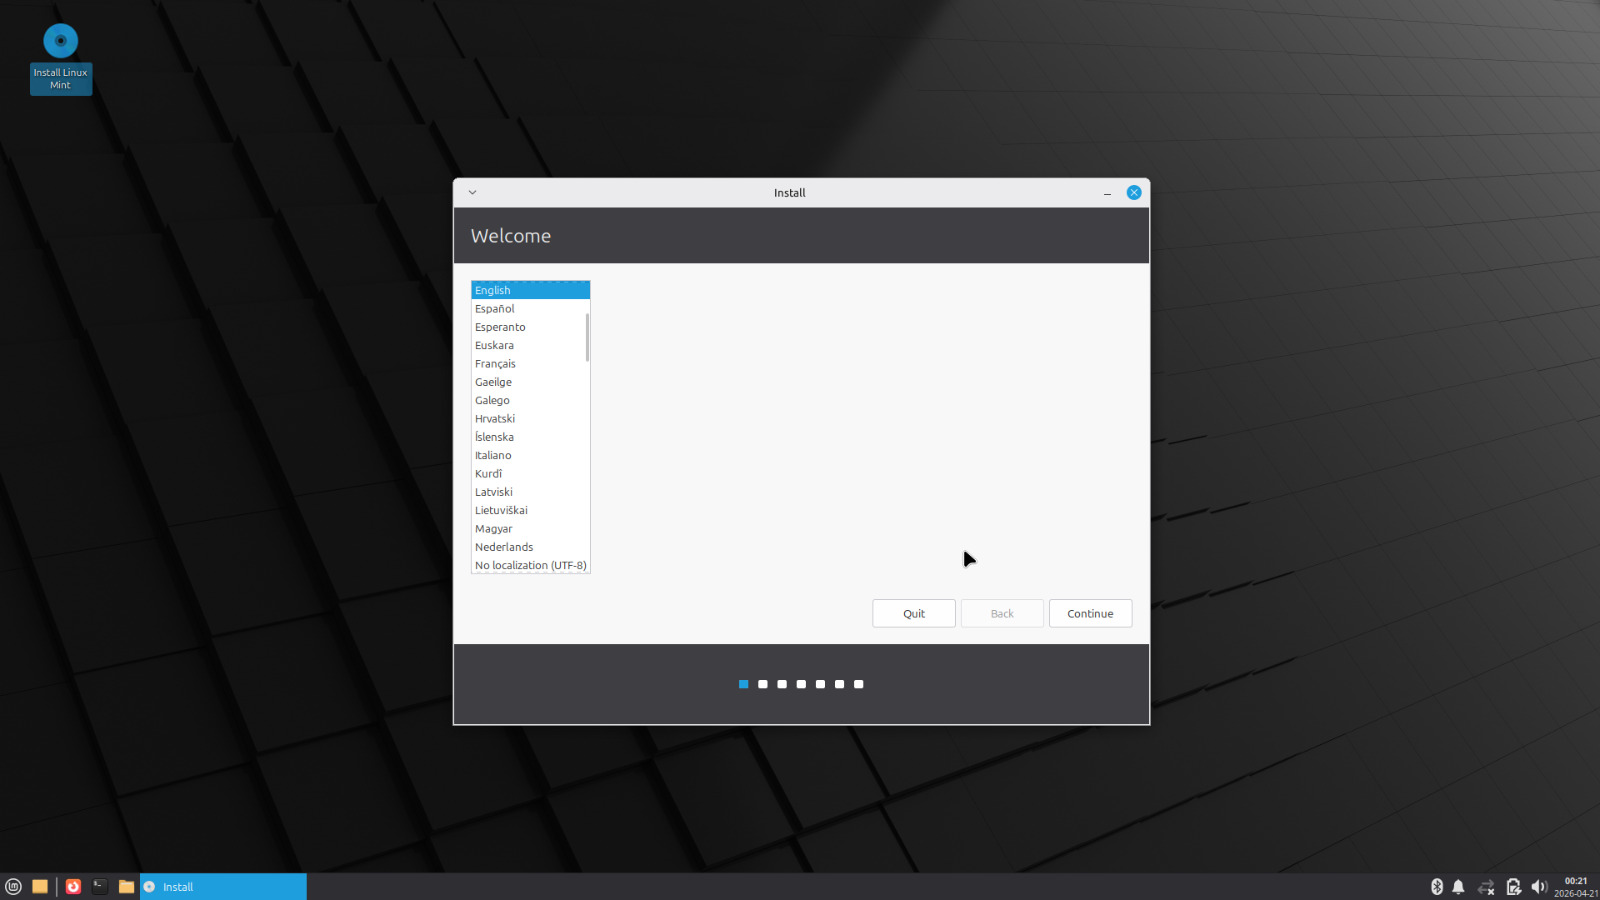
- Language: select yours.
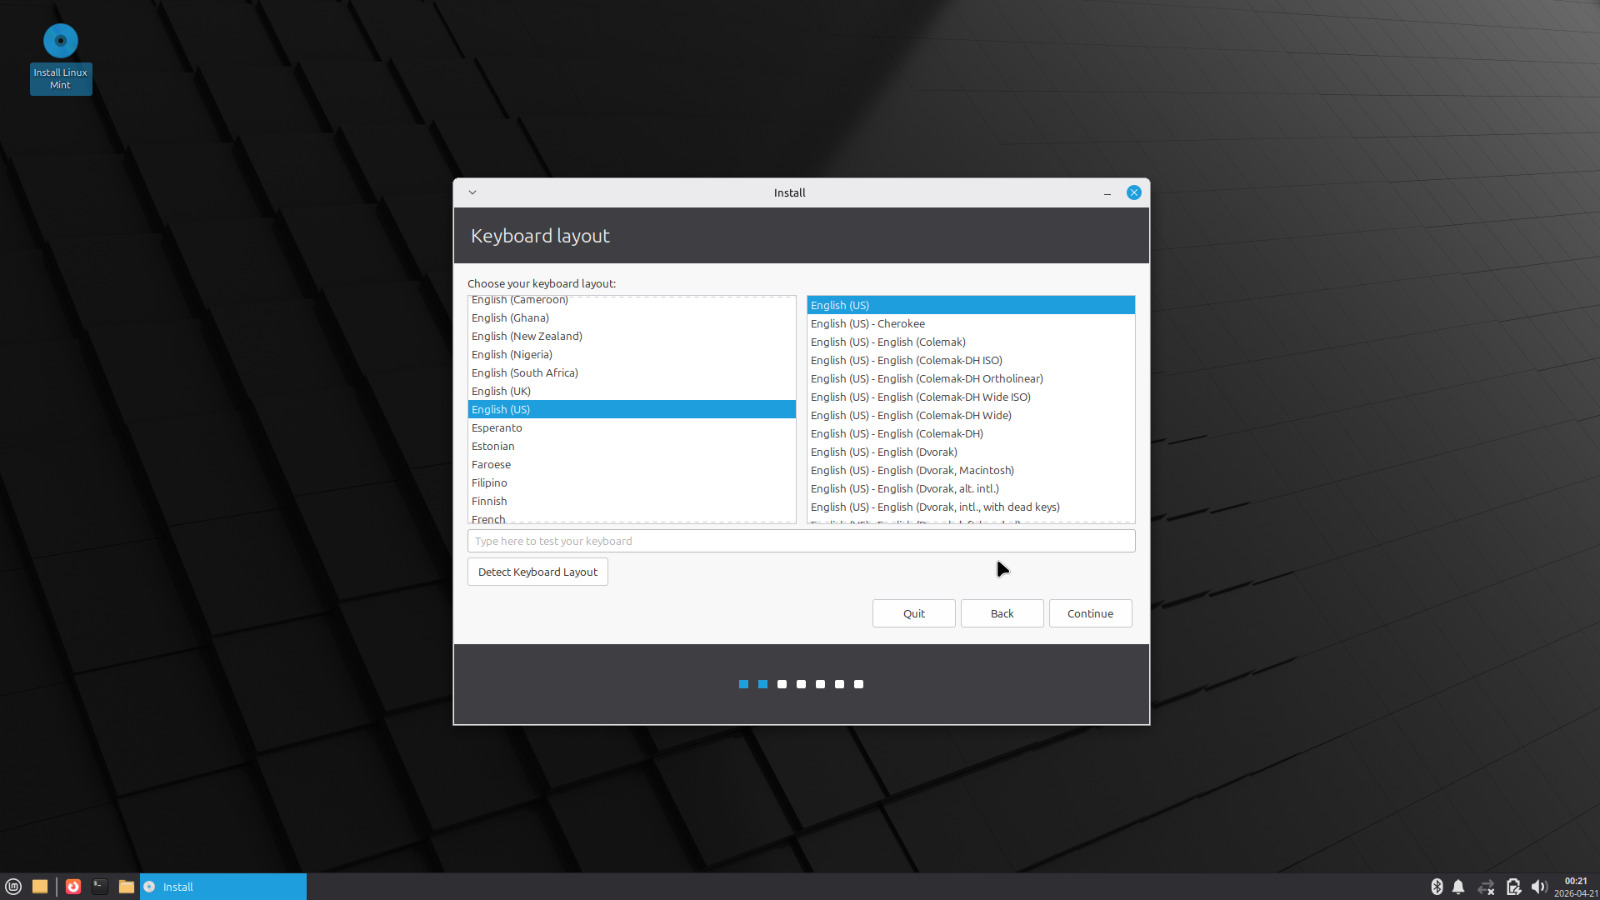
- Keyboard layout: verify it matches your keyboard.
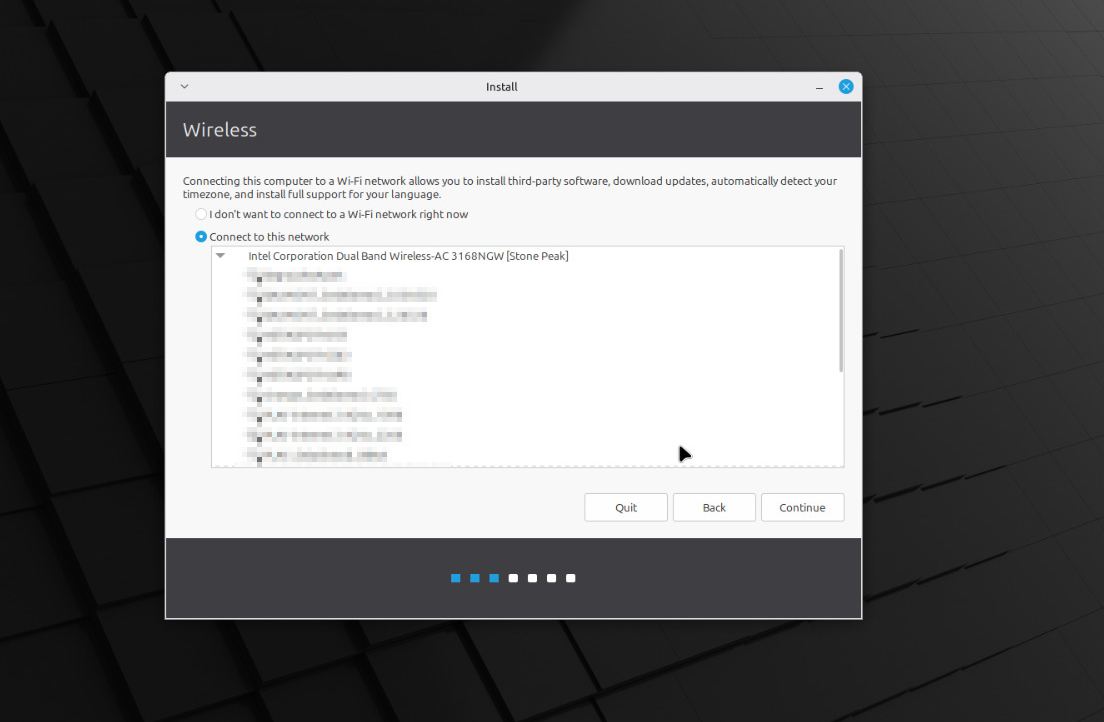
- Connect to WiFi: do this now if you want codecs installed automatically.
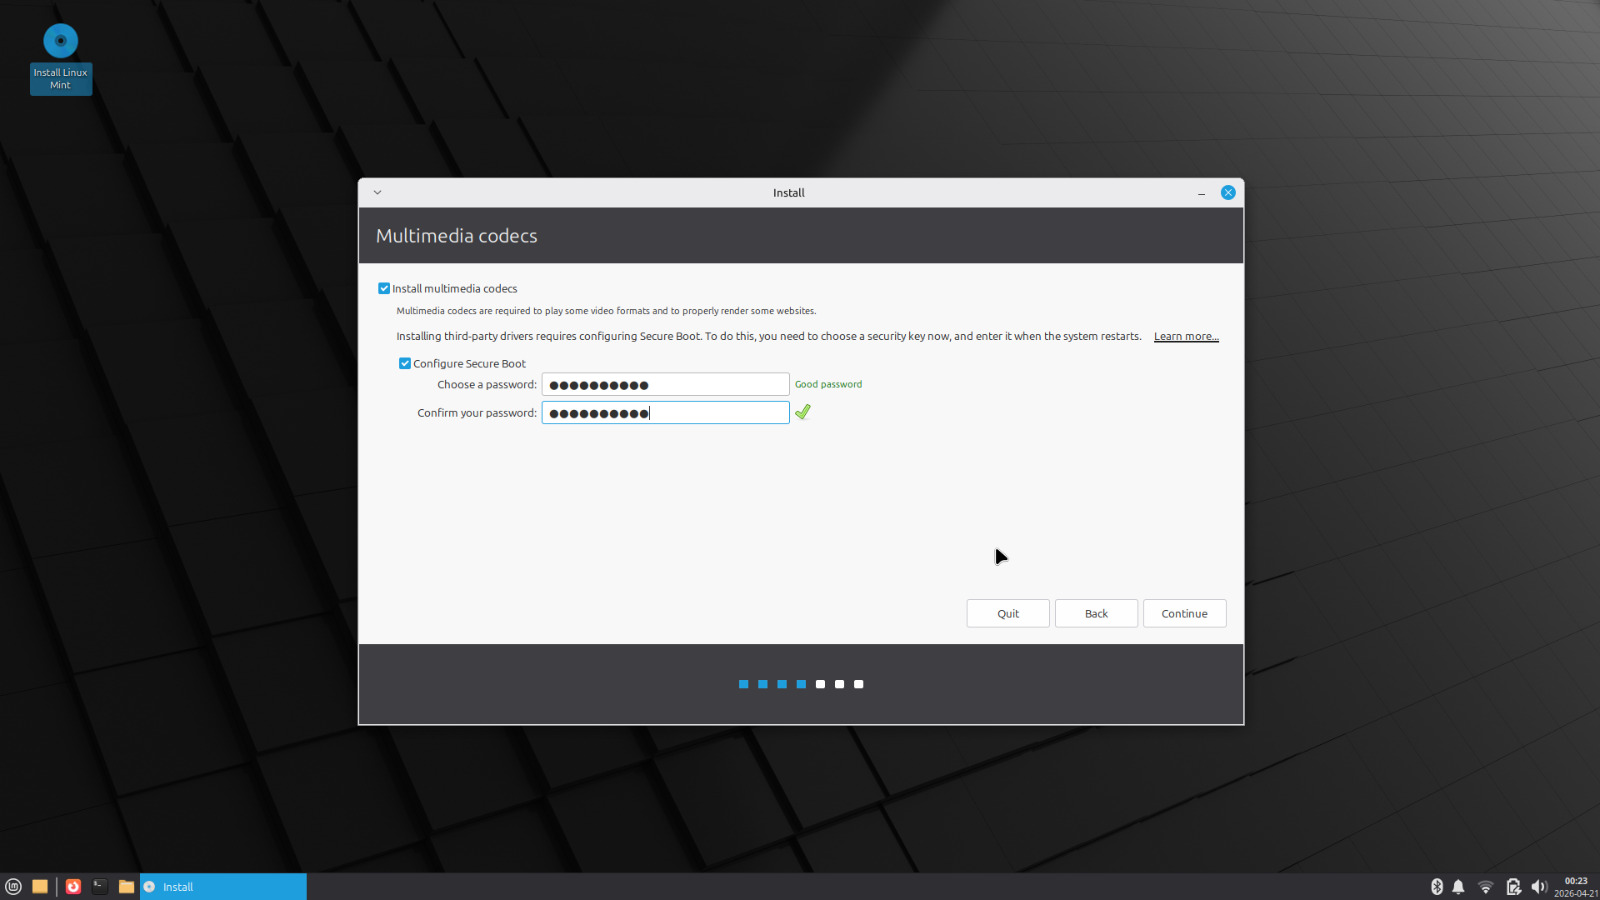
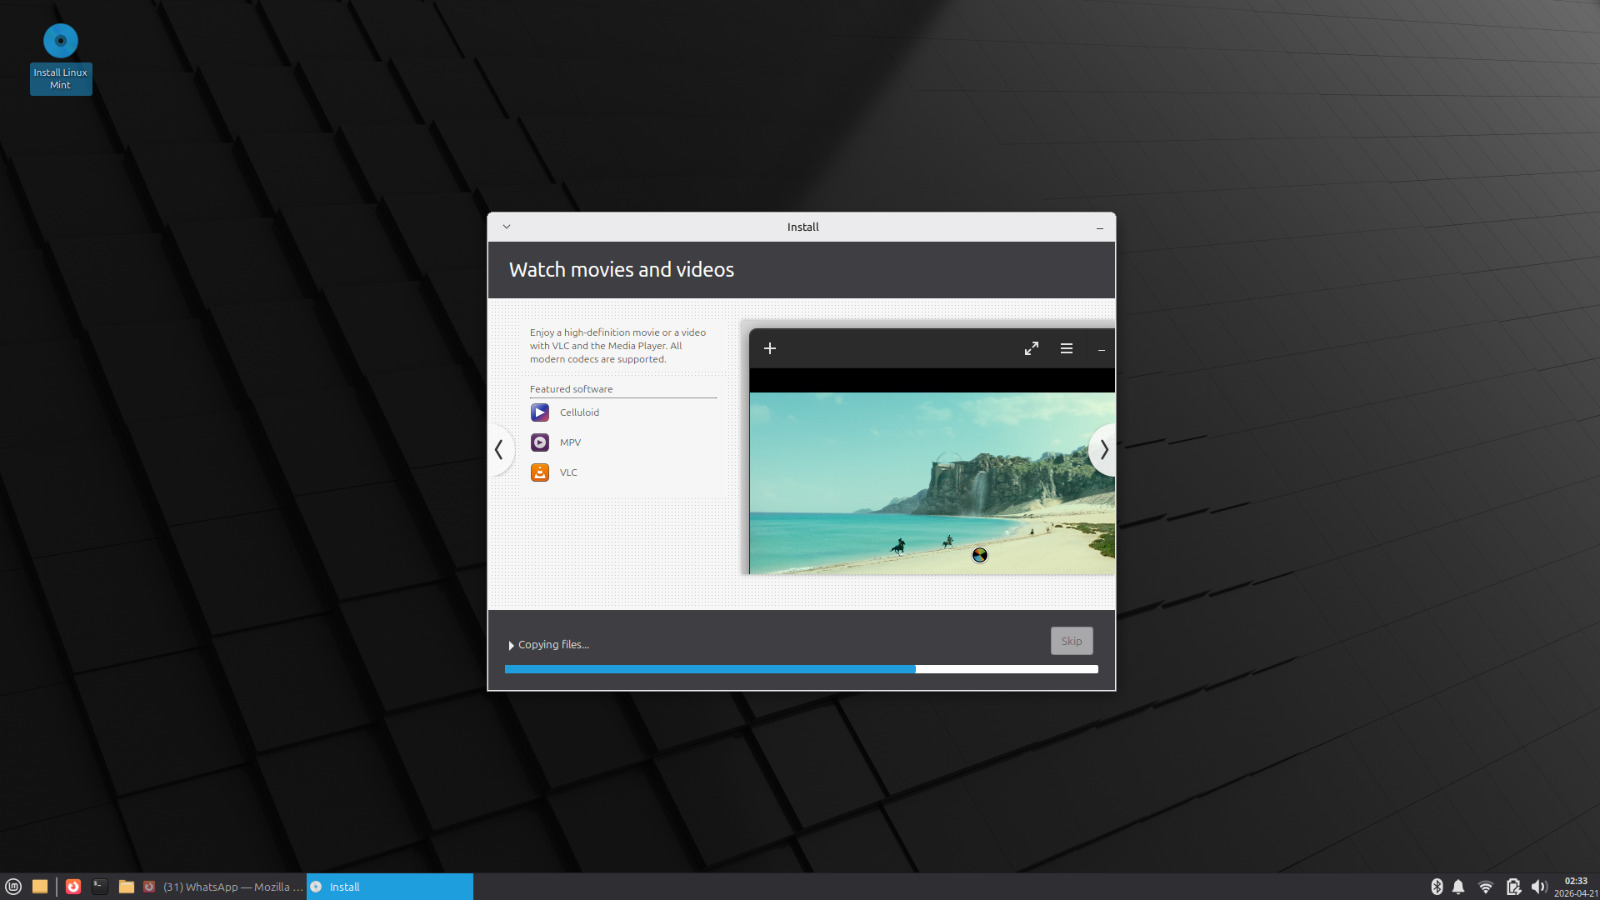
- Install multimedia codecs: check this box. It installs support for MP3, video playback, and other formats that can’t be bundled by default for licensing reasons. You want it. If Secure Boot is enabled on the machine, the installer may ask you to set a temporary password at this step to enroll a security key. If it does, set something simple since you’ll only need it once on the next reboot to confirm the enrollment.
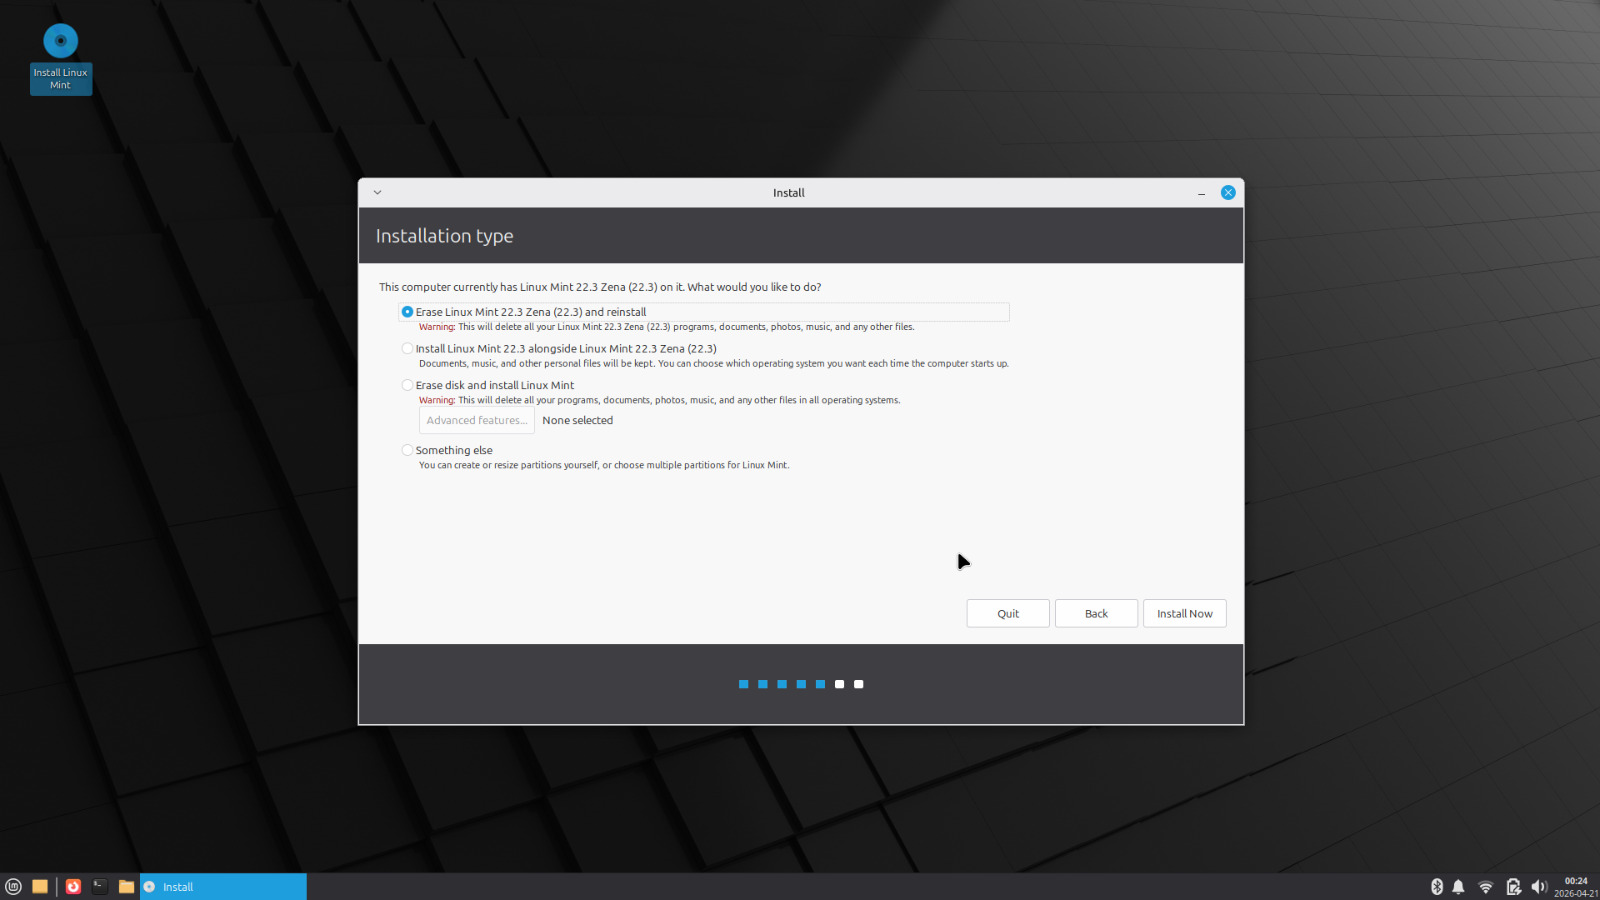
- Installation type: this is the important screen. Select Erase disk and install Linux Mint. This wipes the internal drive and gives you a clean install. If you need to dual-boot Windows alongside Mint, the option exists but that’s outside the scope of this post.
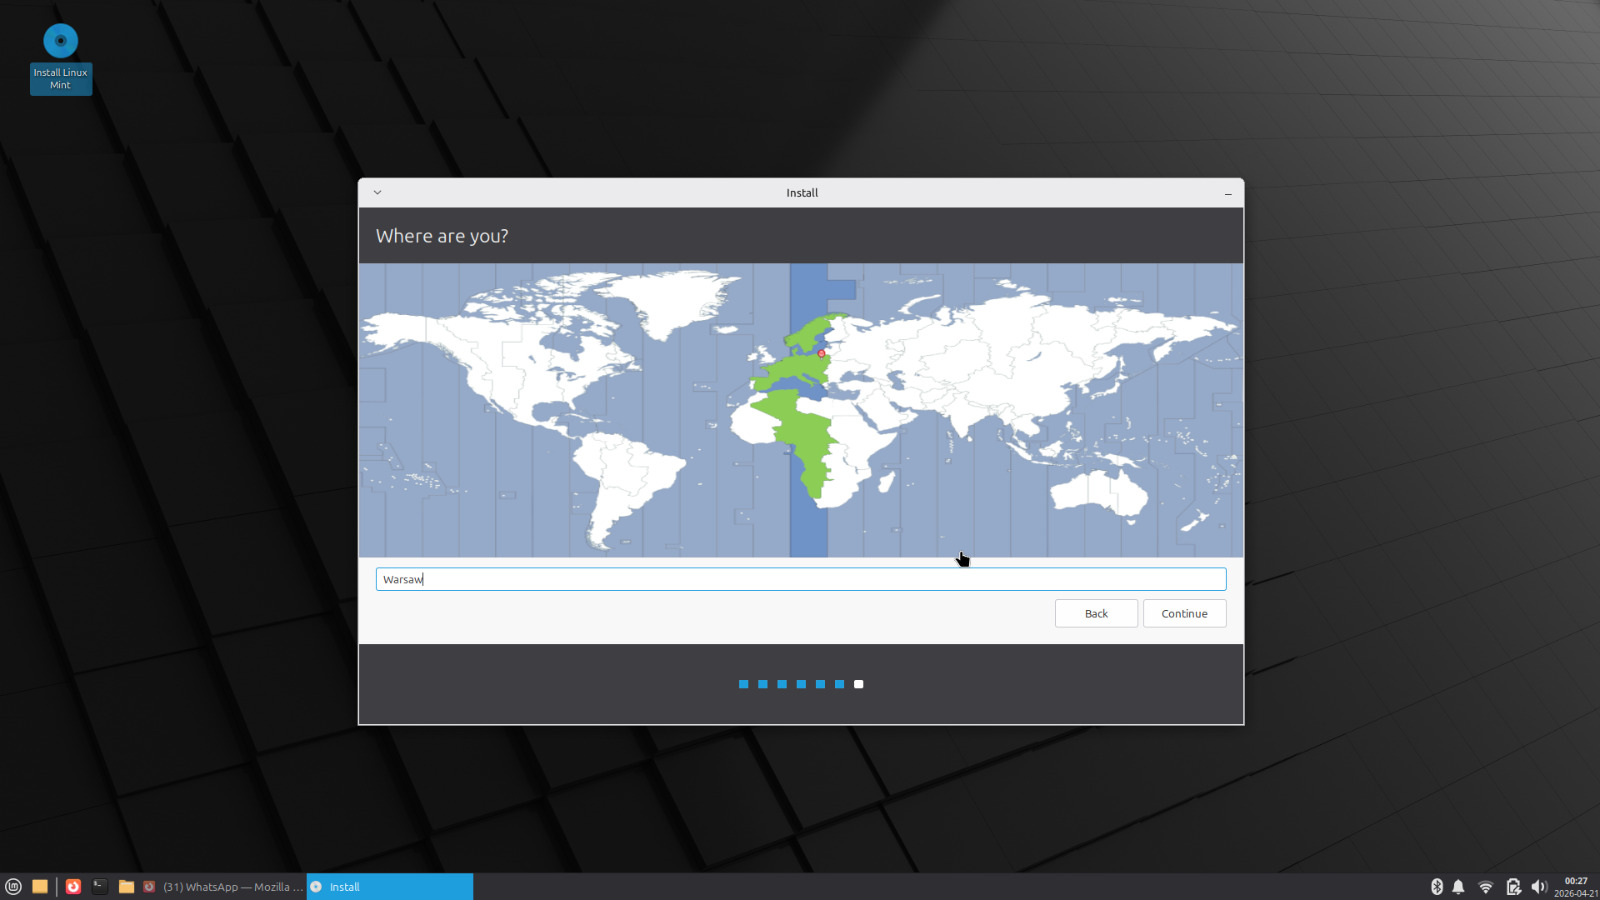
- Timezone: select your location.
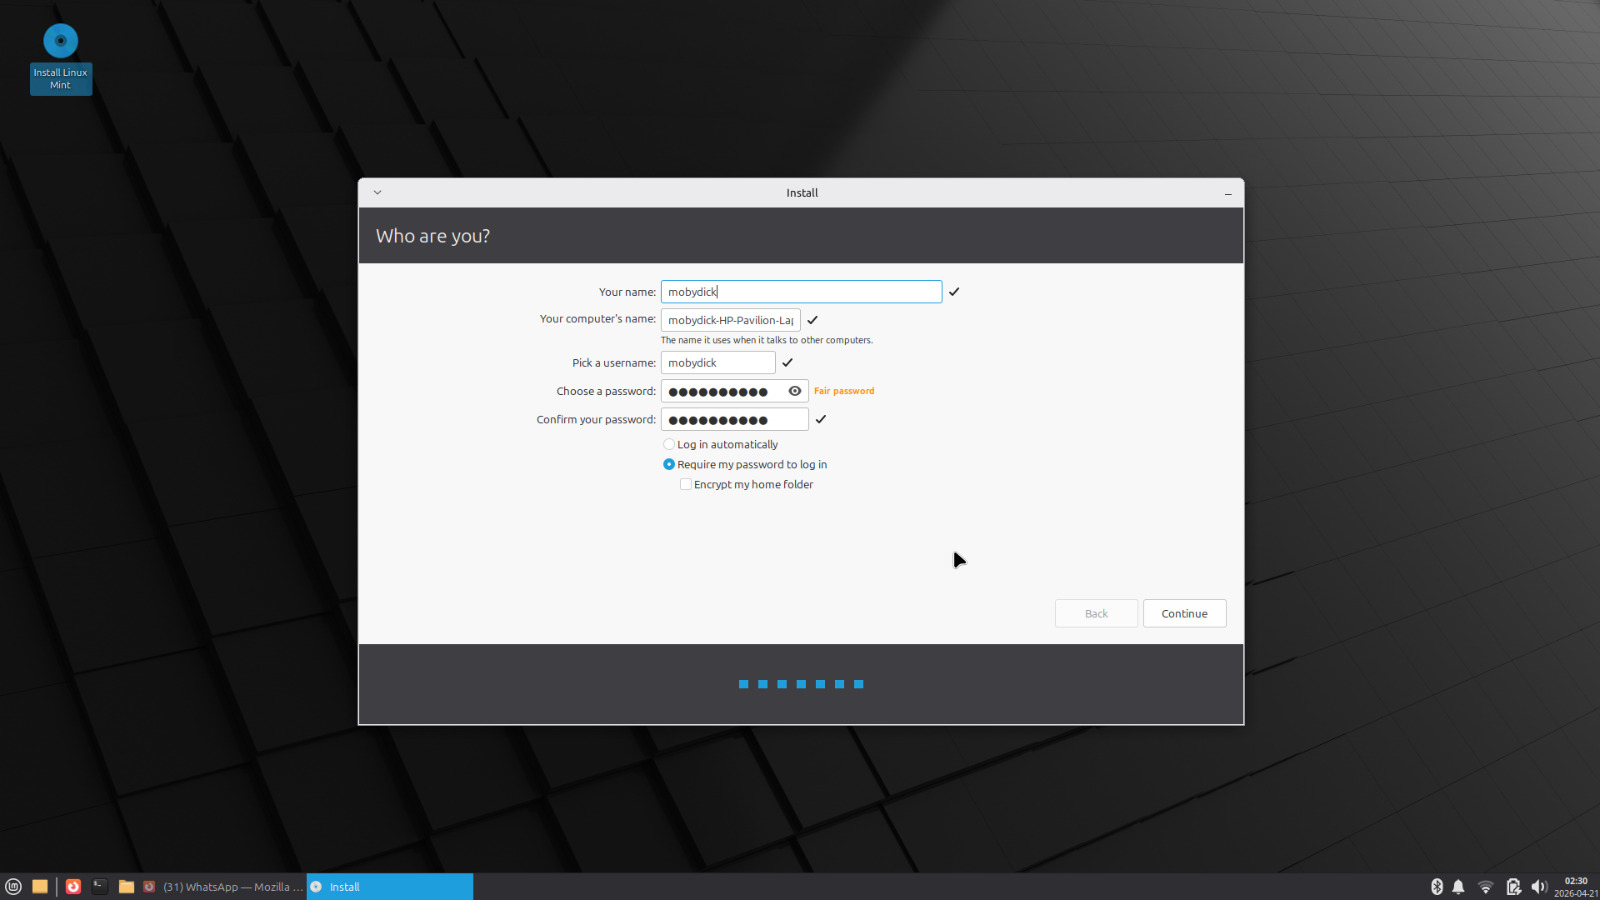
- User details: set your name, username, and password. The username becomes your home folder name, so keep it lowercase with no spaces.
Click Install Now and confirm the disk changes. The installer runs in the background. It usually takes 10 to 20 minutes depending on the drive speed.
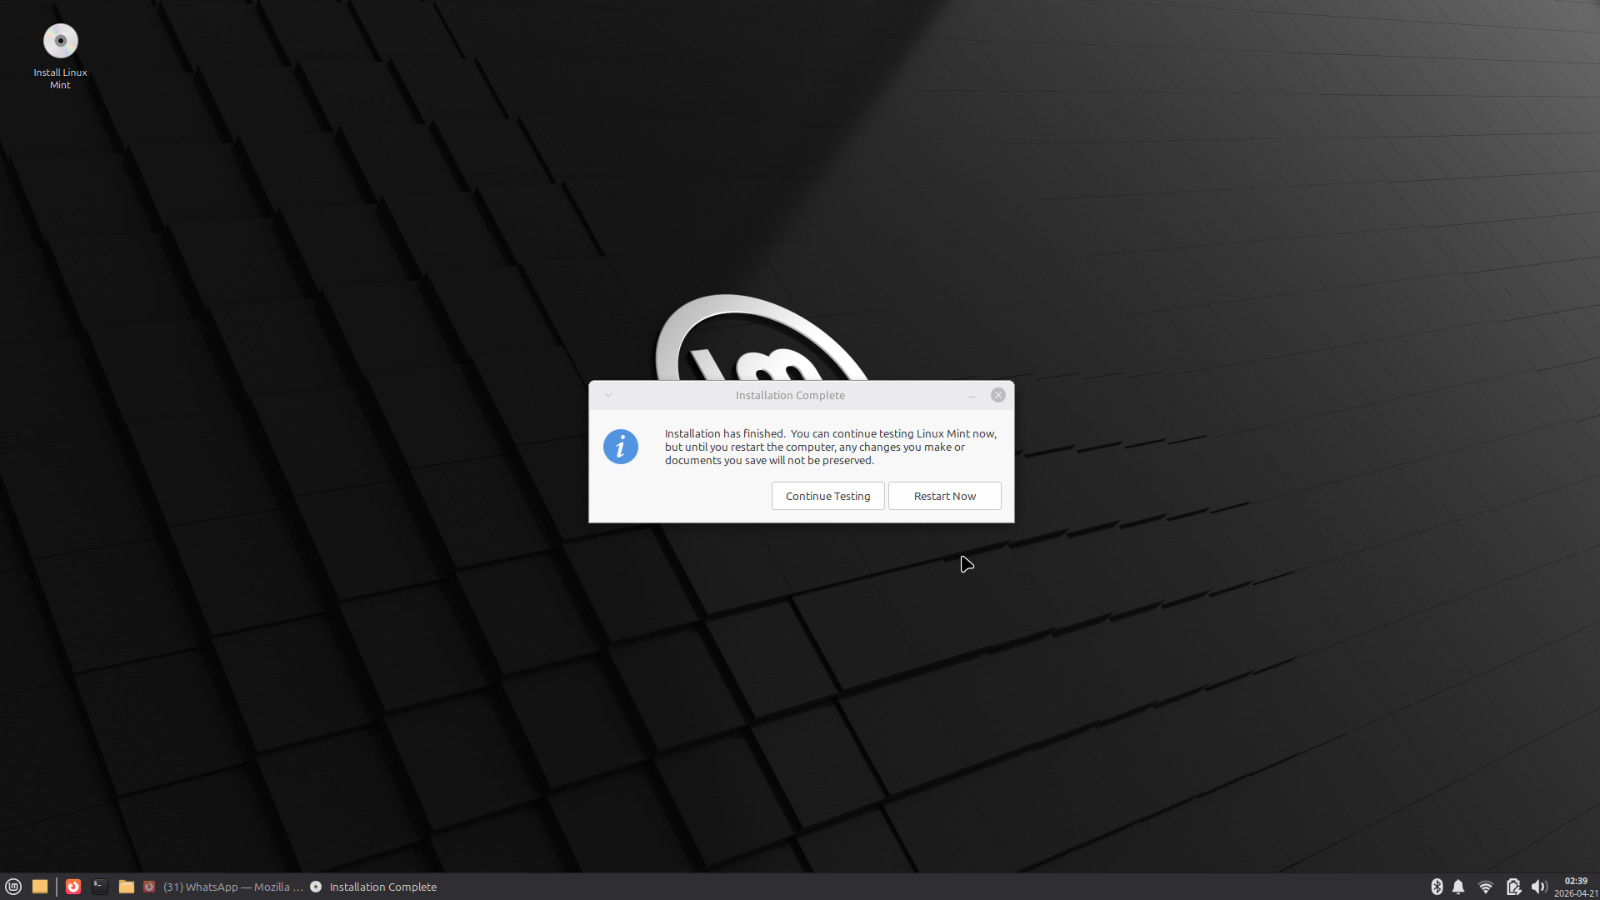
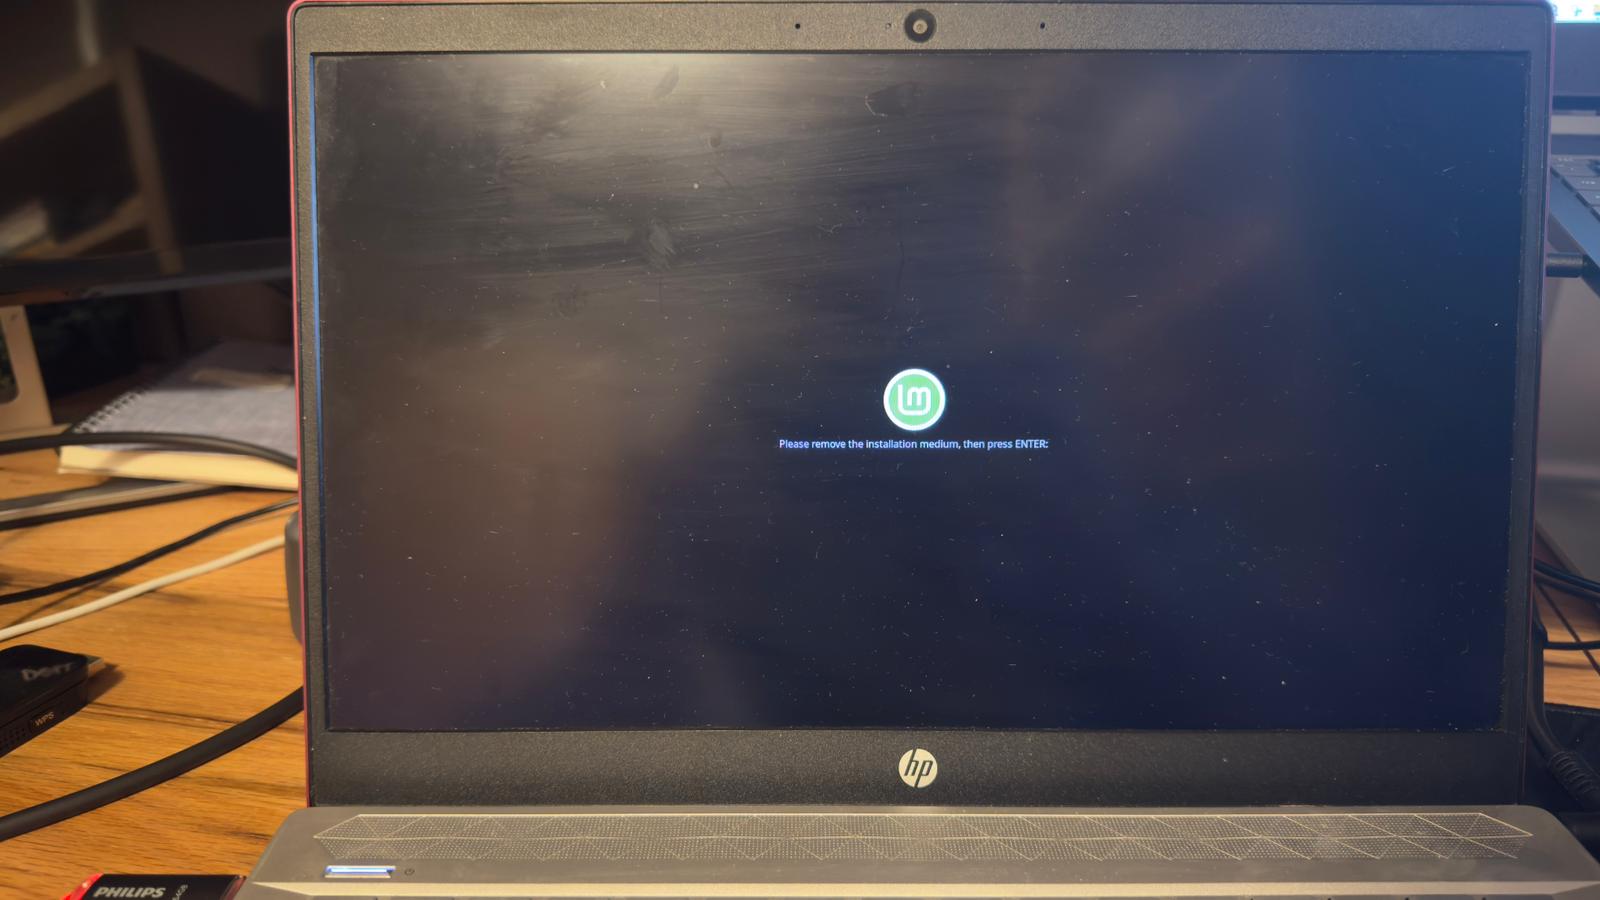
When it finishes, click Restart Now. When prompted, remove the USB drive and press Enter.
Step 6: First Boot Setup
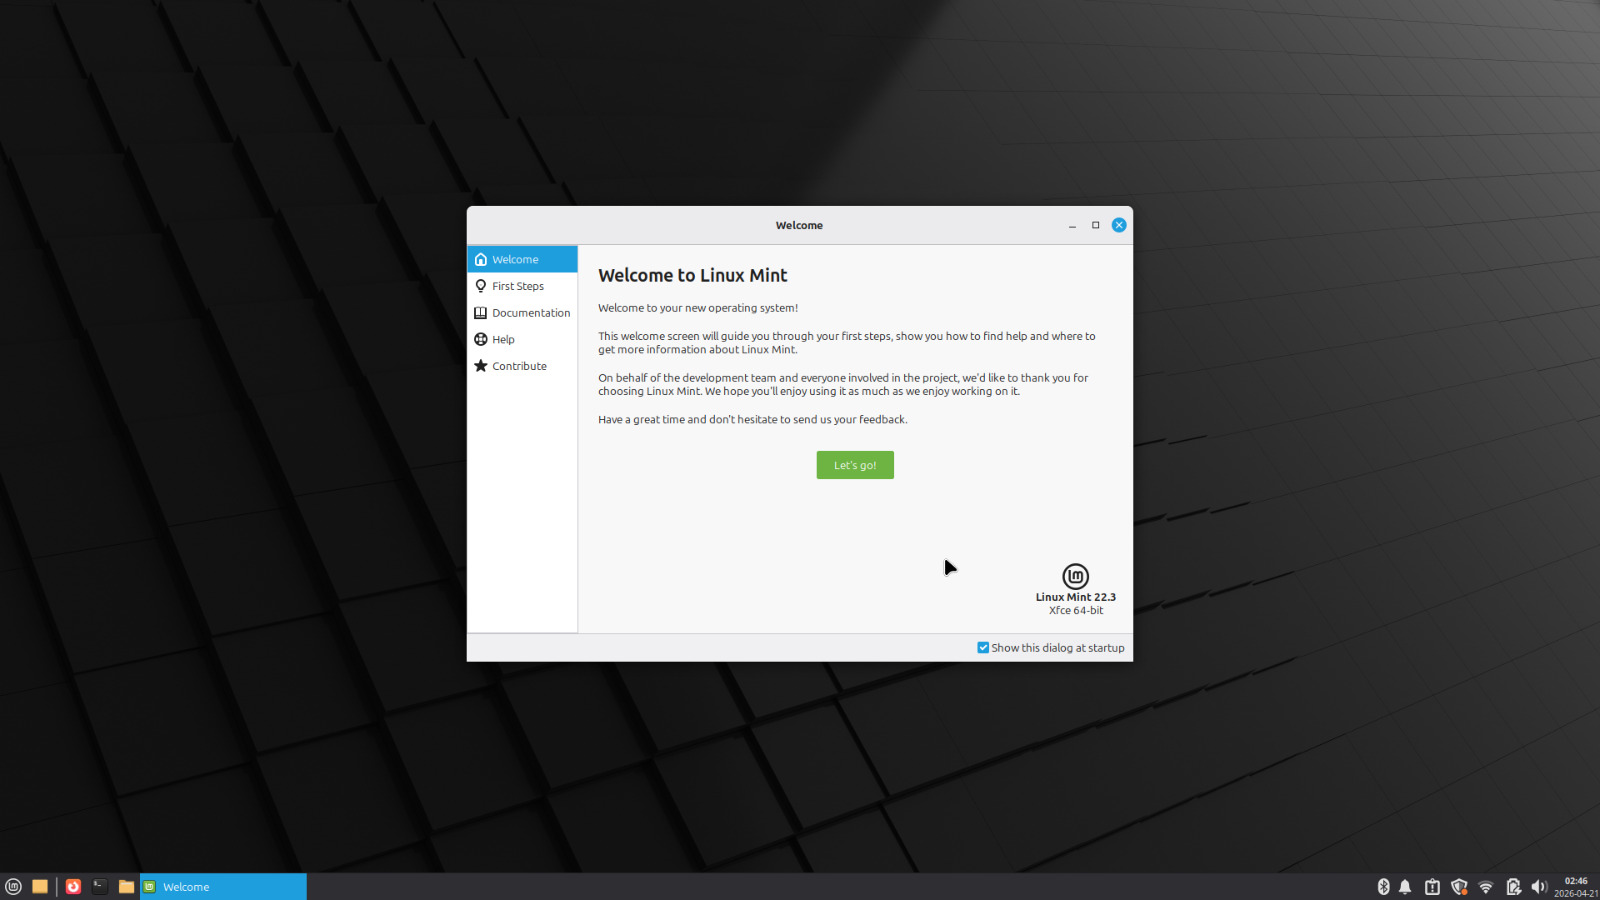
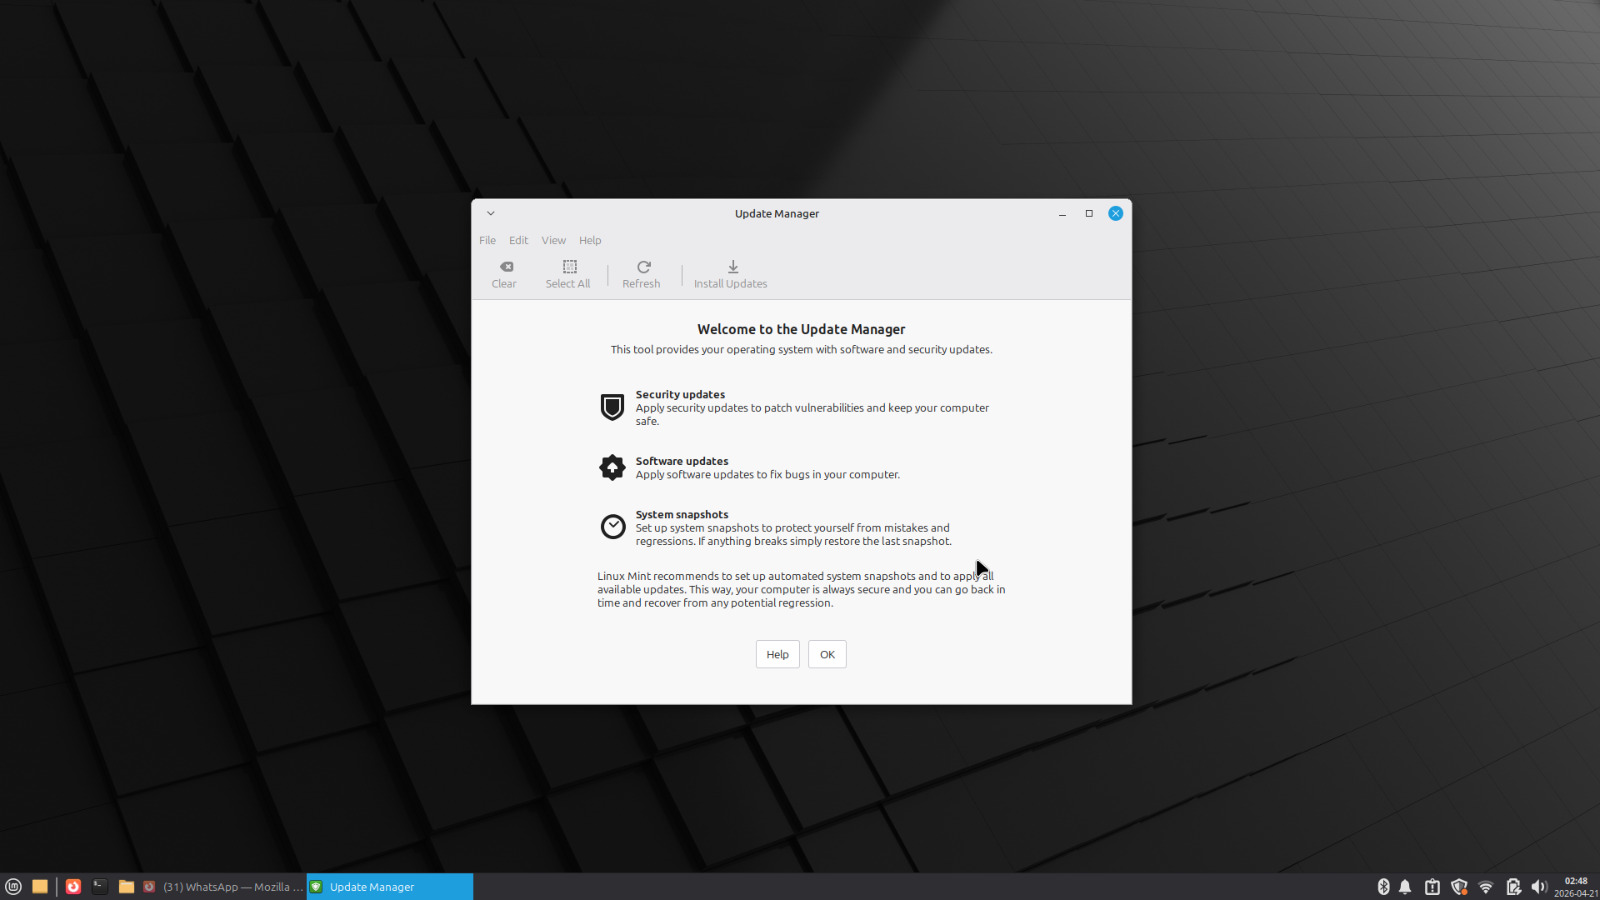
The system will boot into the installed Mint desktop. A welcome screen opens automatically. You can explore it or close it. The important things to do next are:
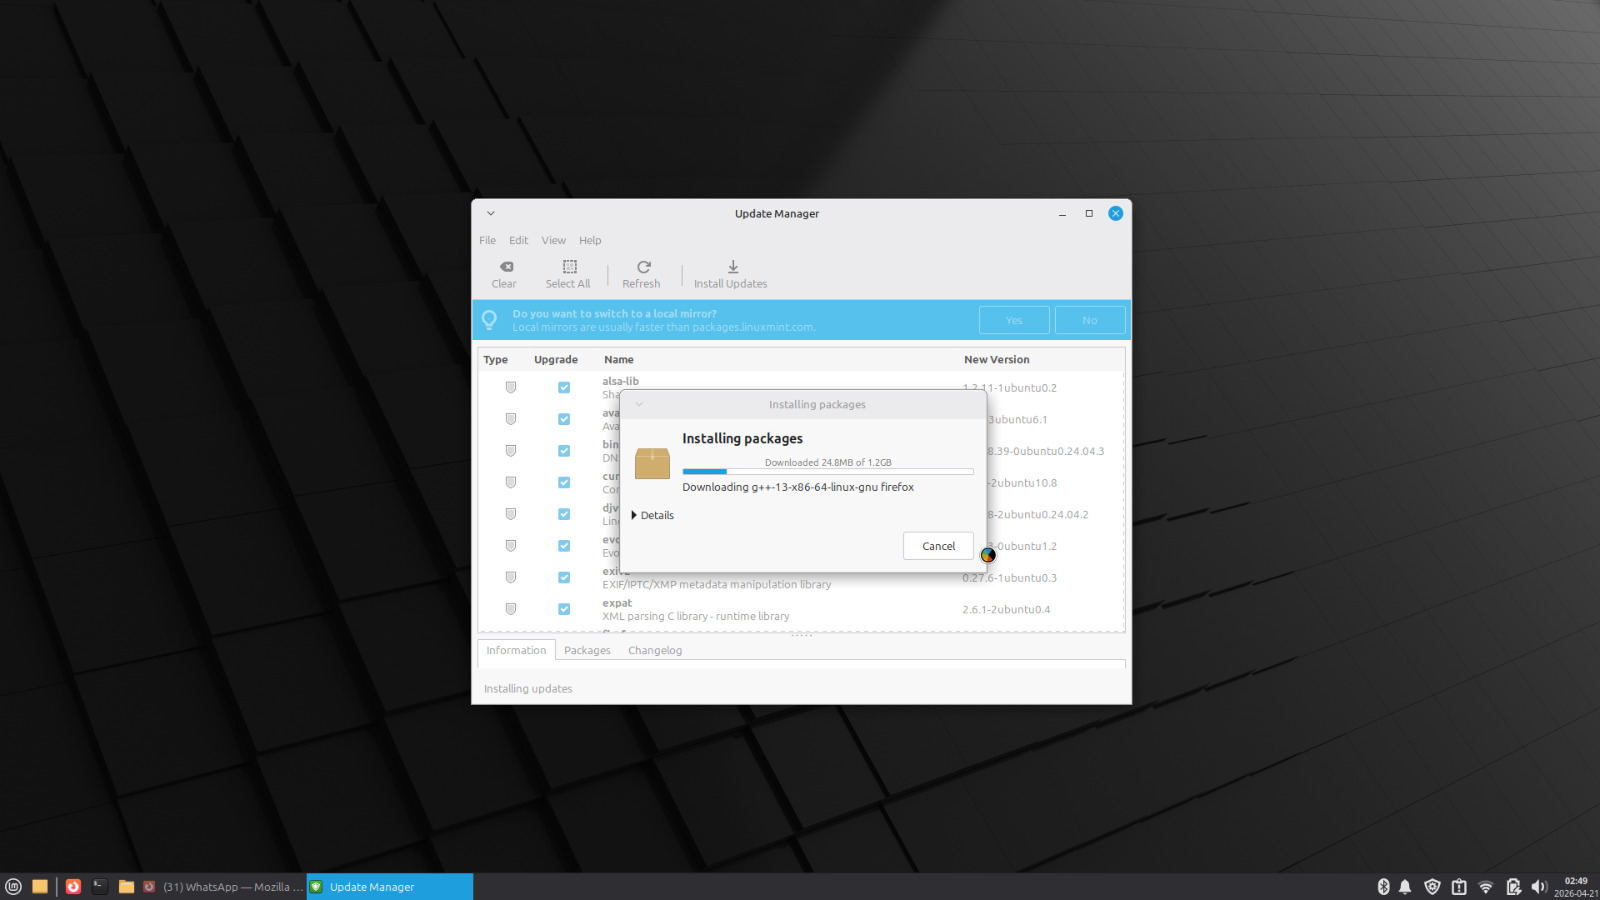
Run Update Manager. Open it from the taskbar or the application menu. Install all available updates. Do this before anything else.
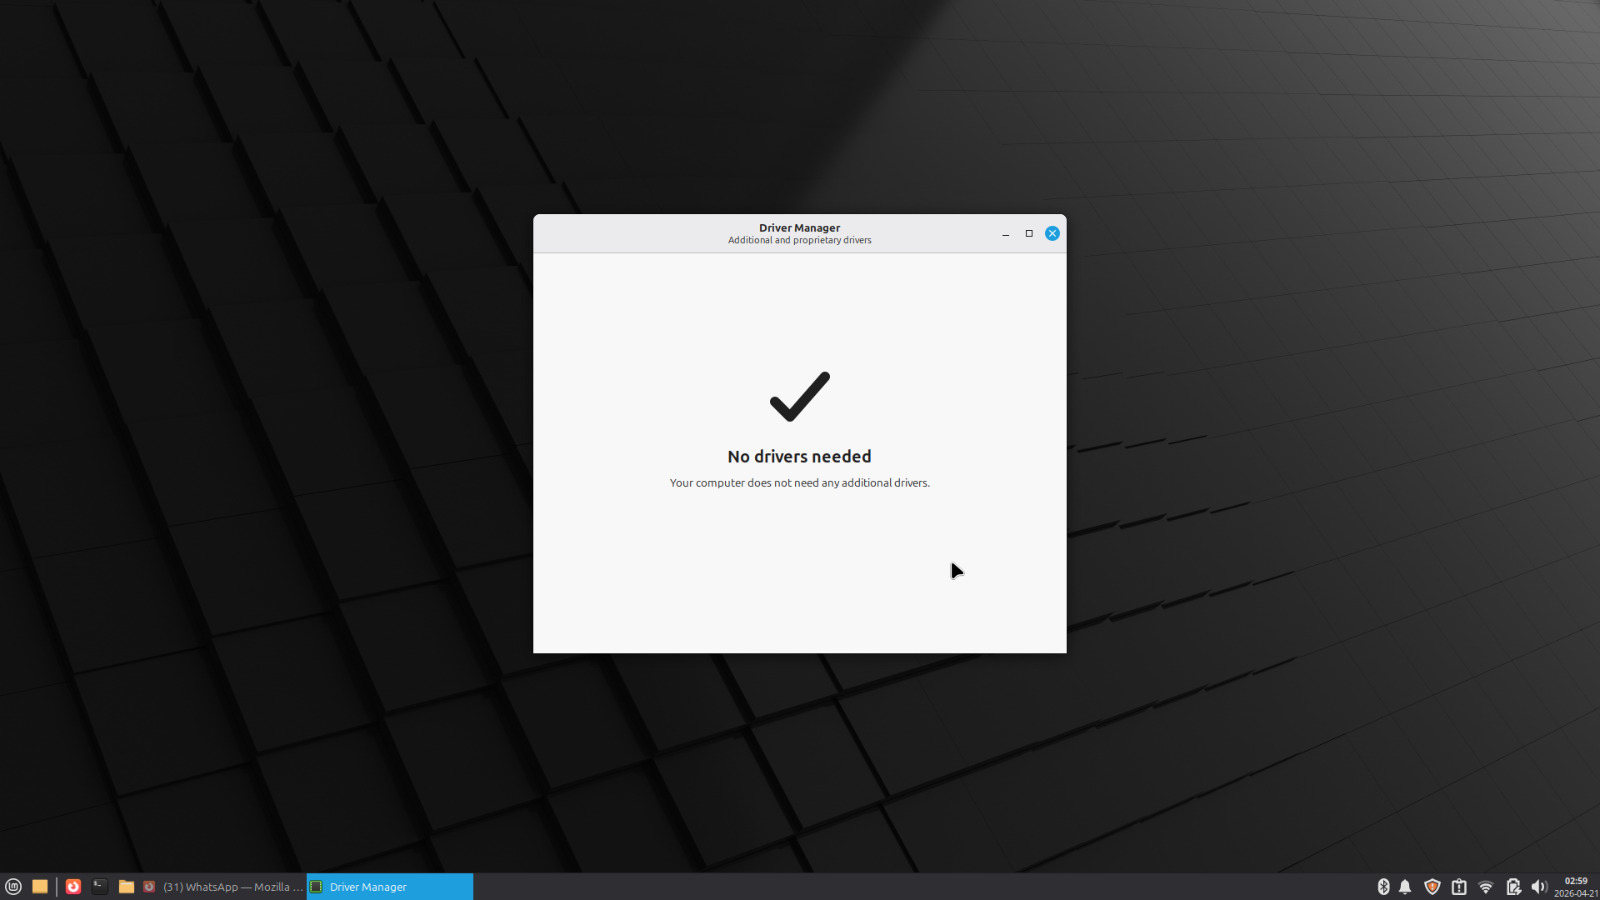
Open Driver Manager. This scans for hardware-specific drivers. On the HP Pavilion, everything worked without additional drivers, but it’s worth checking. If your WiFi card or display requires a proprietary driver, this is where you install it.
Set up Timeshift. This is Mint’s built-in system snapshot tool. Think of it as a rollback mechanism: if an update breaks something or you misconfigure the system, you can restore to the last snapshot in minutes. The first time you open Timeshift it walks you through setup. Take a snapshot after your first round of updates. Takes about a minute to run.
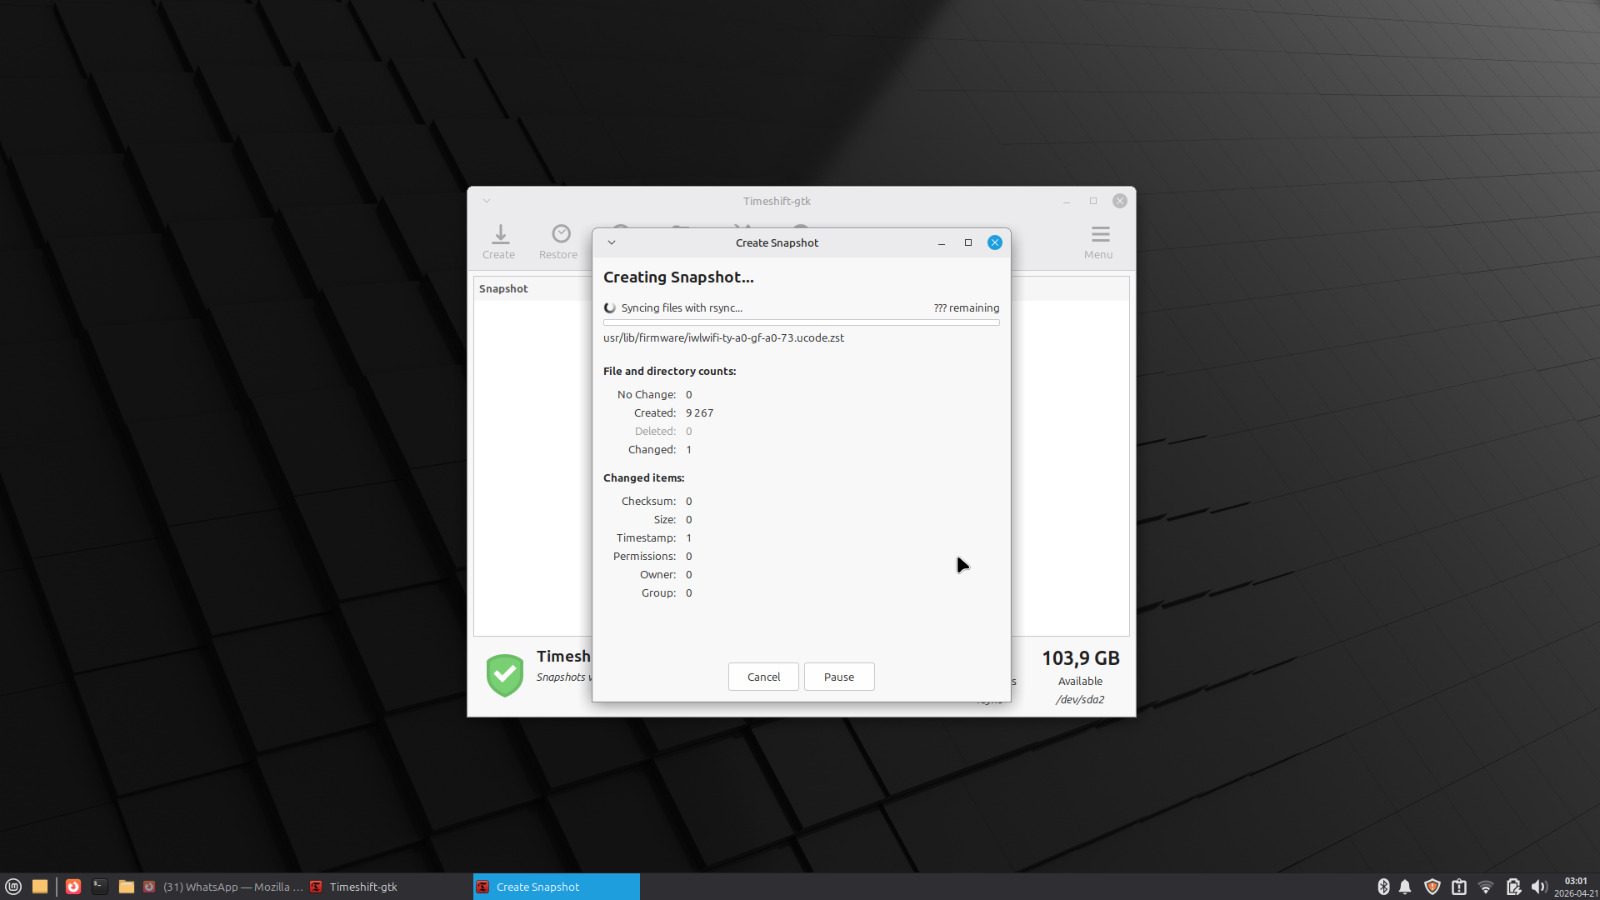
You can also set up snapshots to be captured at a set interval:
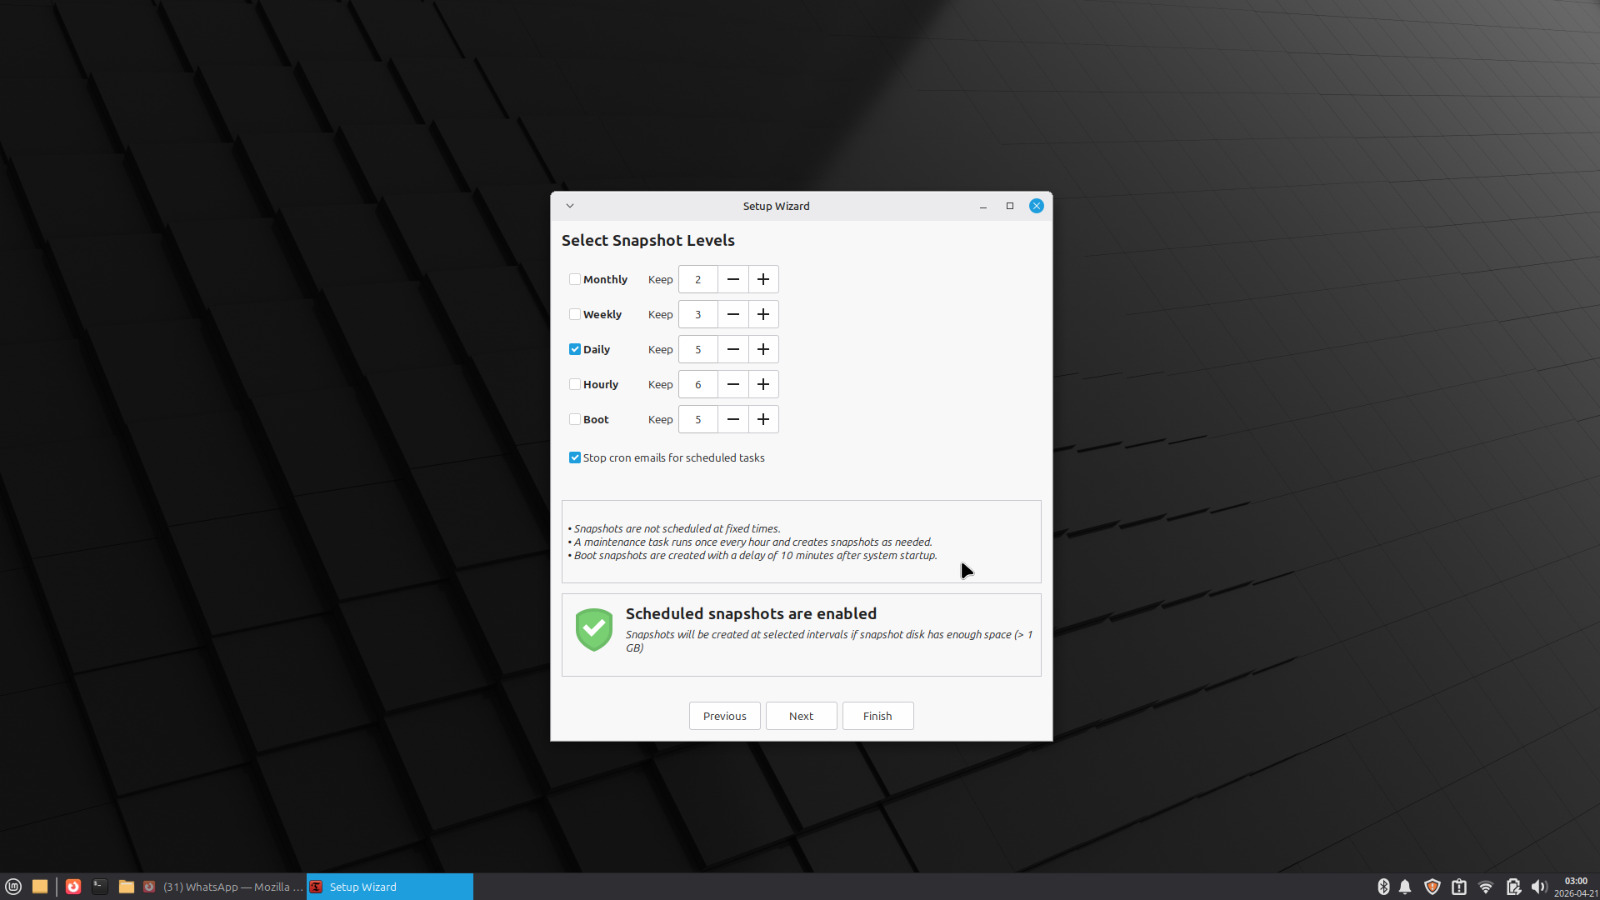
That’s it. The system is installed and ready.
What It Actually Does
Here’s where it gets interesting. Installing a lightweight Linux distro is one thing. What it can actually run on seven year old hardware is a different conversation.
Boot Time
Fresh boot, no tweaks, straight out of the install: 35.3 seconds from power button to usable desktop.
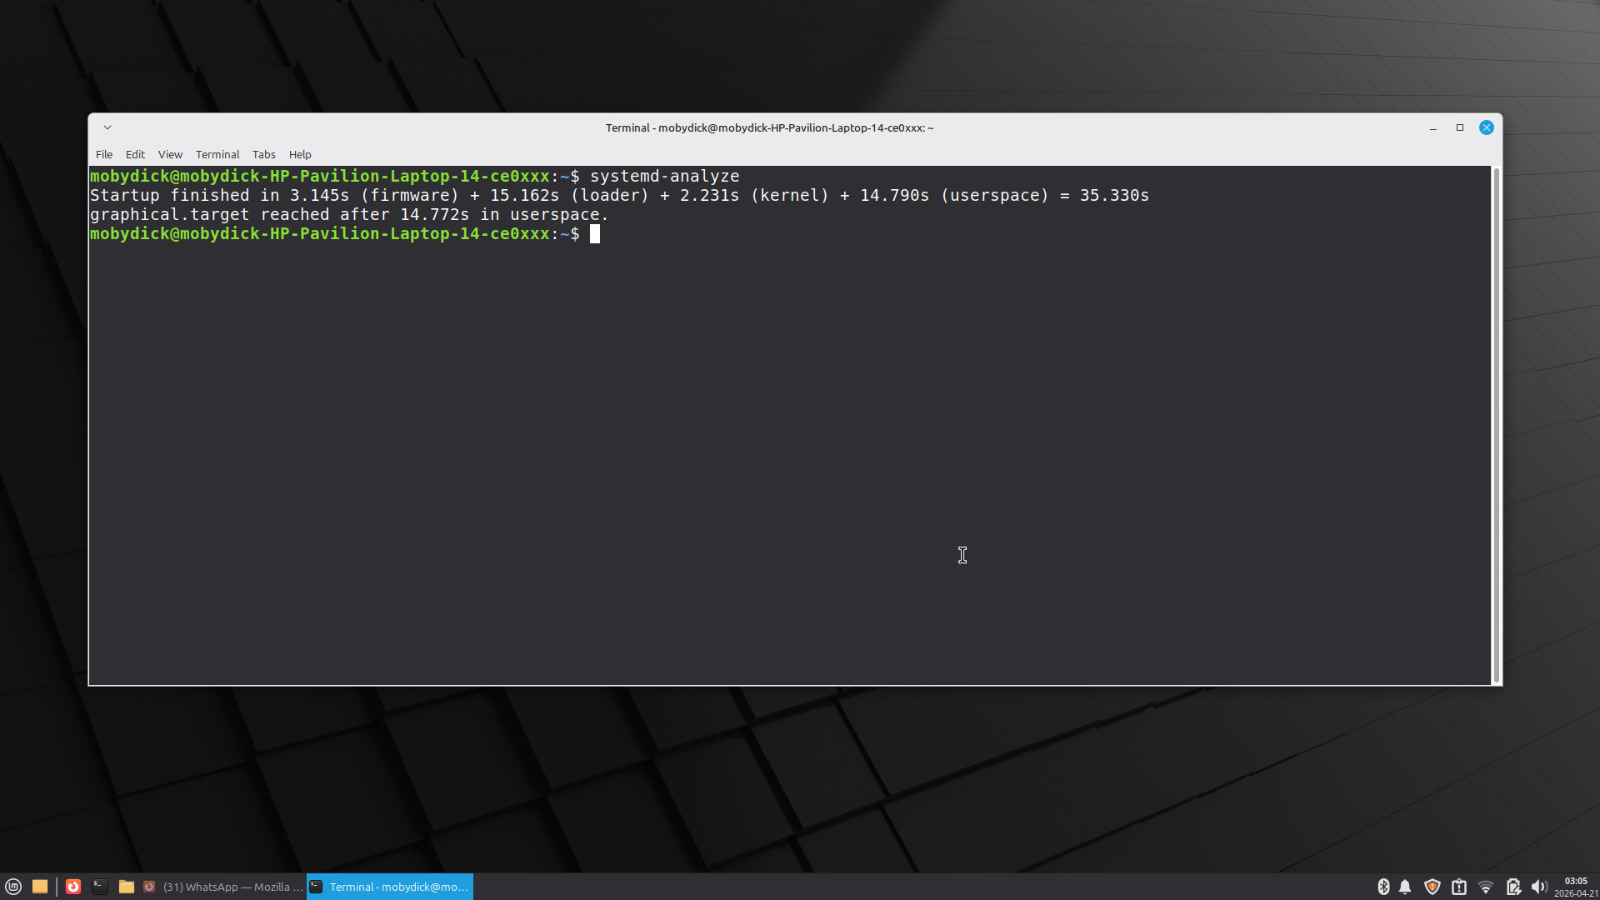
For context: Windows 11 on this machine with fast startup disabled was consistently over two minutes from power button to a responsive desktop.
Memory Usage
At idle, Linux Mint XFCE uses roughly 1.6 GB of RAM. That leaves about 2.1 GB free for actual work before you’ve opened a single application.
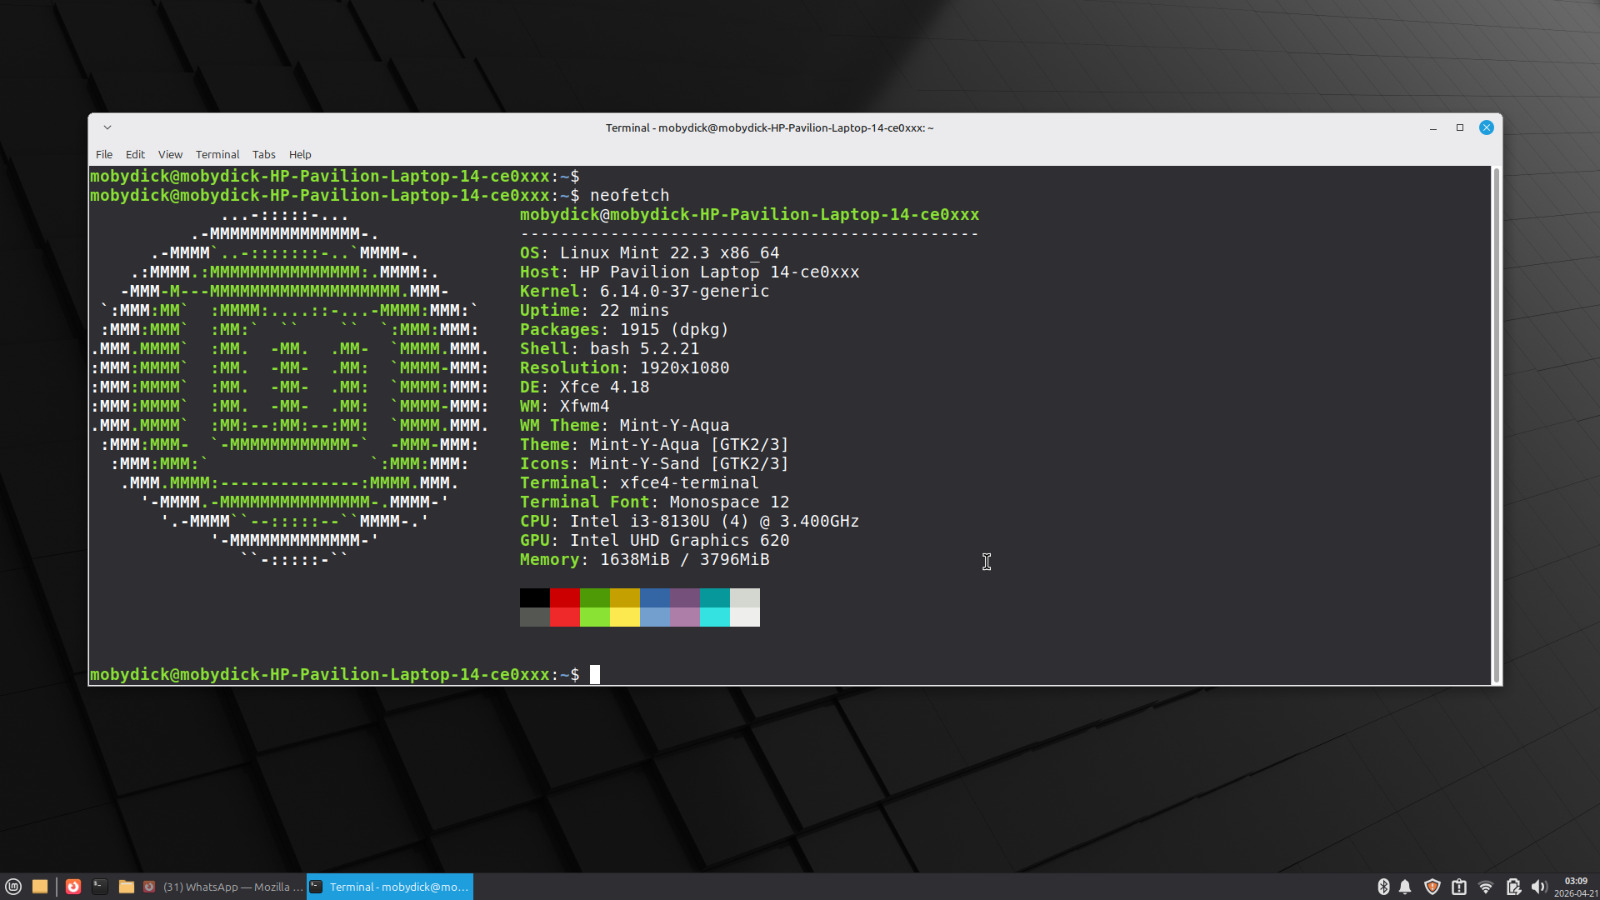
On Windows 11, idle RAM usage on a 4 GB system typically sits between 2.5 and 3.5 GB before you’ve opened a single application. The difference is not subtle.
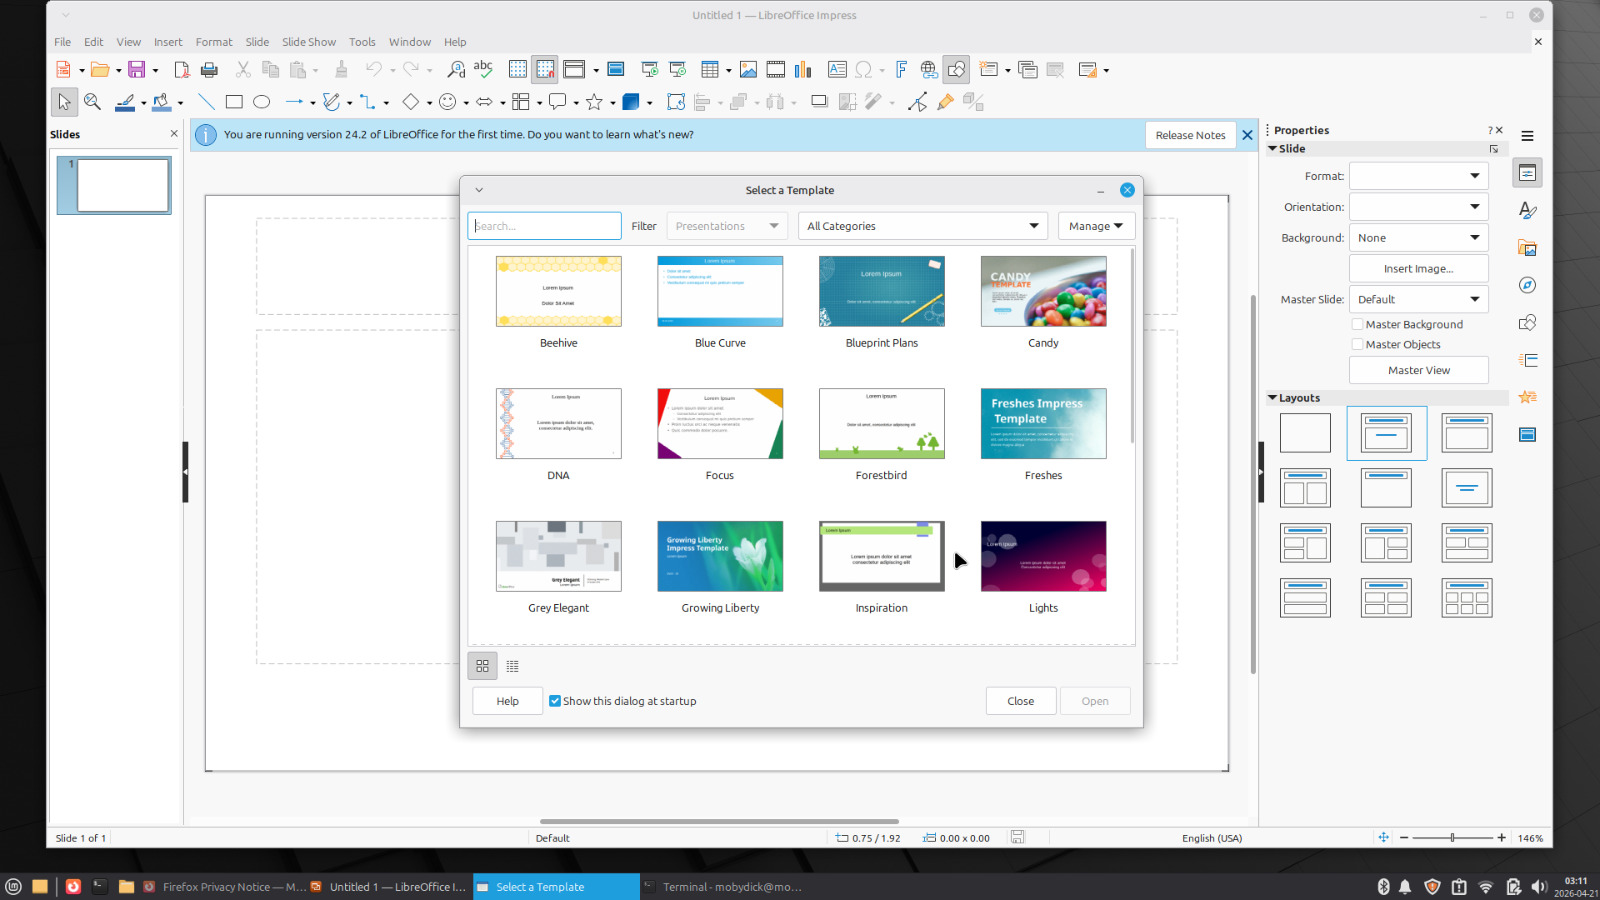
Daily Tasks
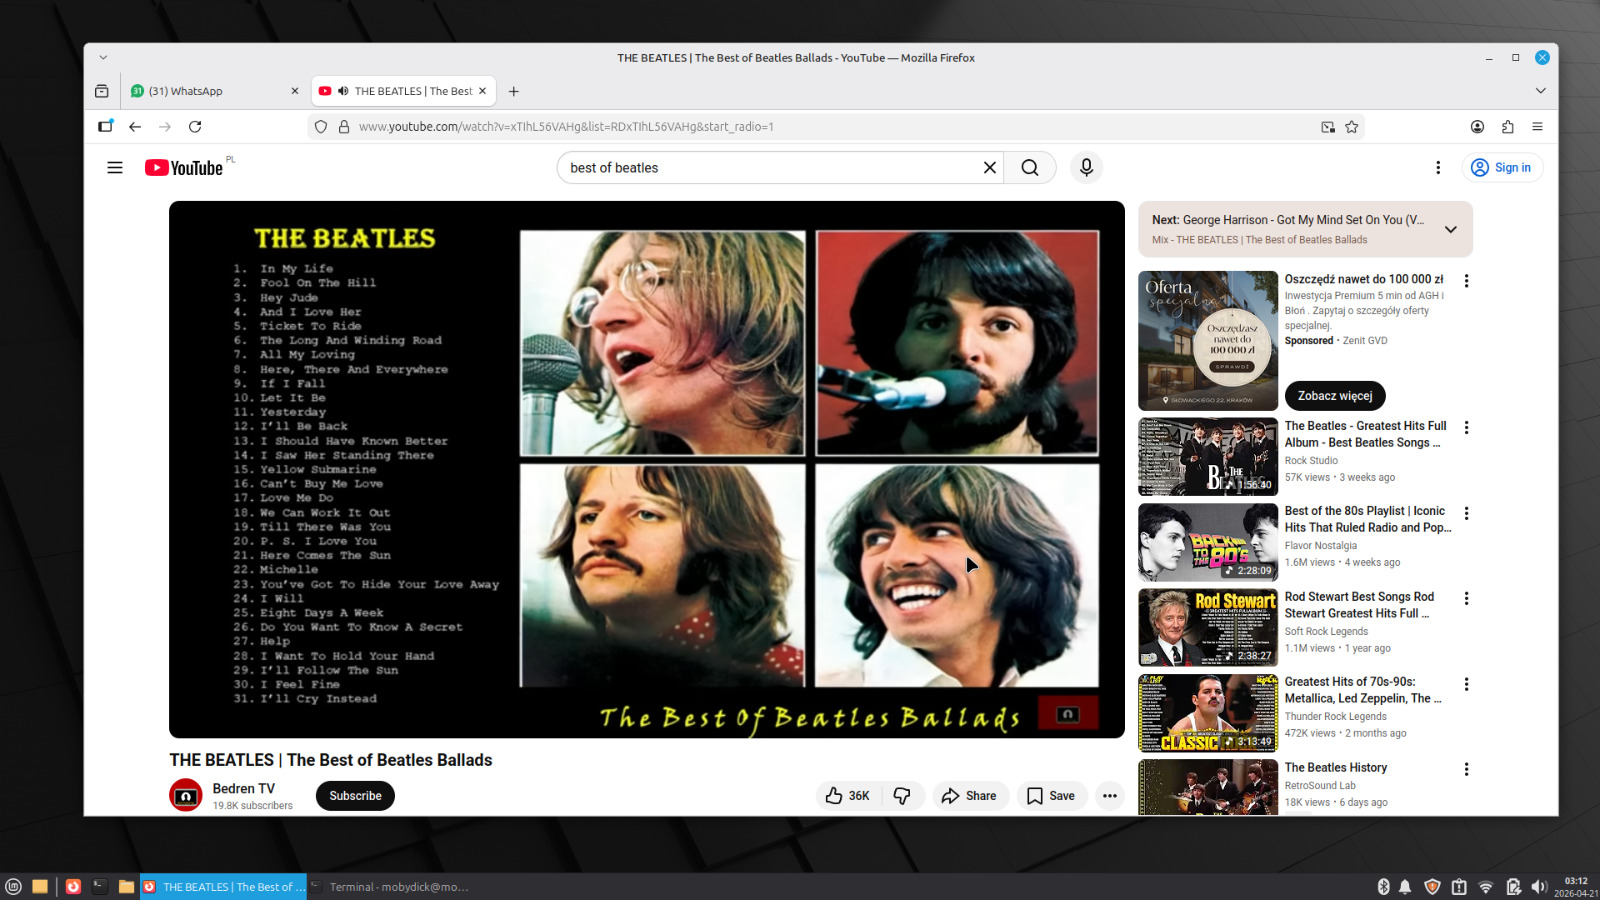
LibreOffice is preinstalled and handles Word, Excel, and PowerPoint files without issues. Browser performance is what you’d expect from a machine with this CPU, it handles a normal number of tabs, not 40. Spotify, WhatsApp Web, YouTube, all run fine in the browser. There’s no bloatware, no background telemetry eating into what little RAM exists, and no update process that takes over the machine at inconvenient times.
The App Ecosystem
One of the common assumptions about Linux is that finding software is painful. On Mint it isn’t.
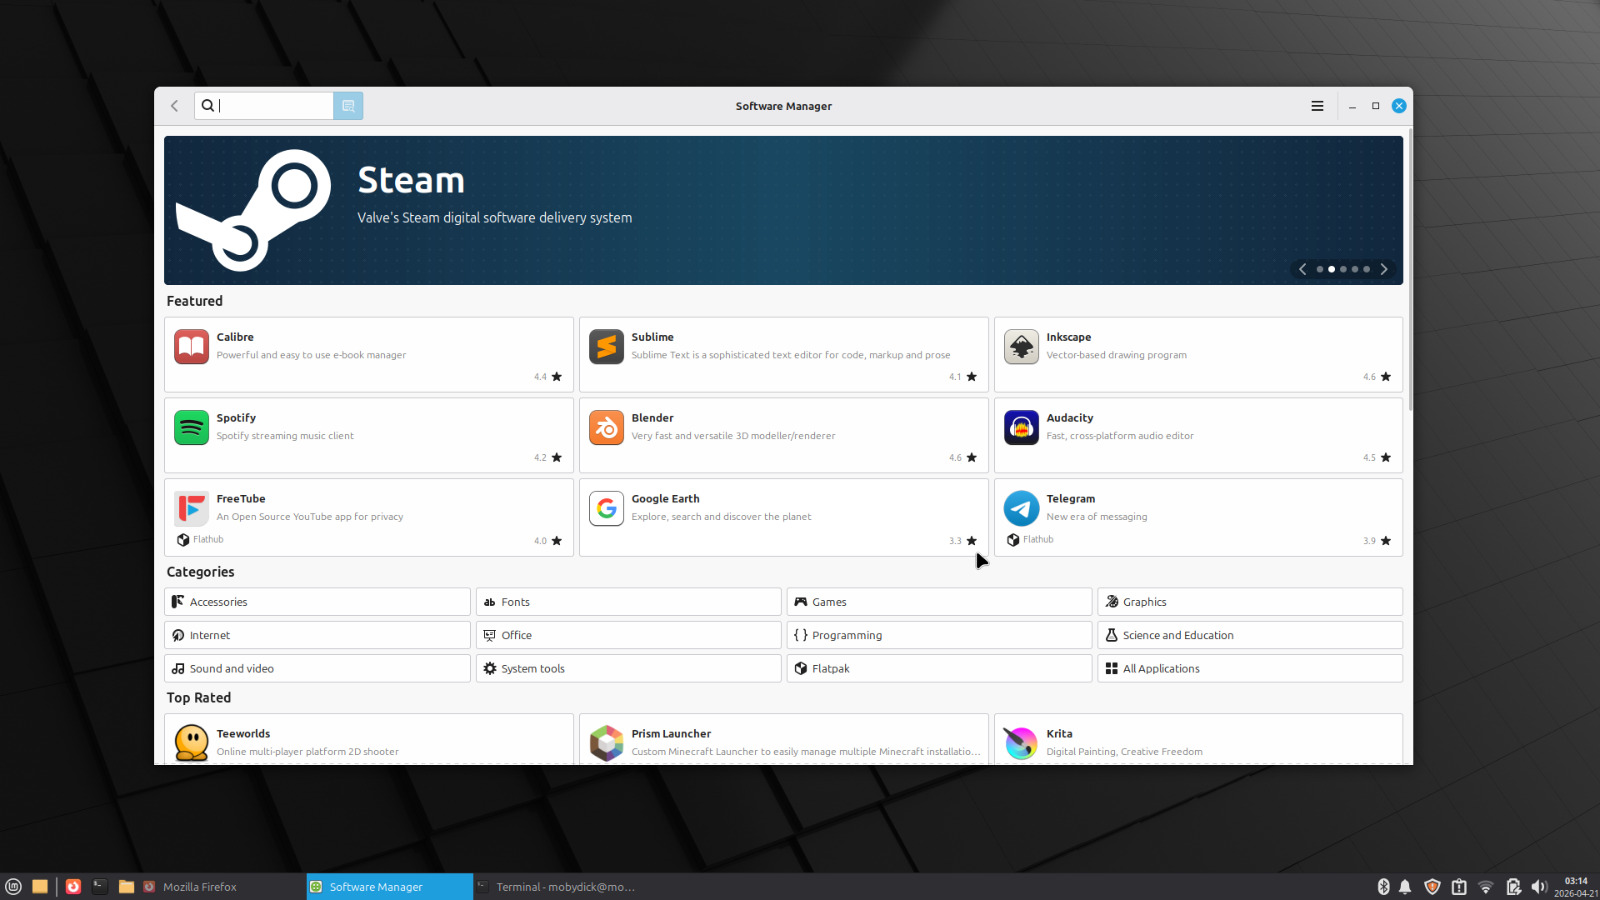
The Software Manager works like any app store. Search, click install, done. No terminal required. The catalog includes everything most people actually need: VLC, GIMP, Dropbox, Telegram, Spotify, LibreOffice, VS Code, and hundreds more. Apps without a Flatpak or .deb package are the exception, not the rule.
Gaming
This is the part that surprises people.
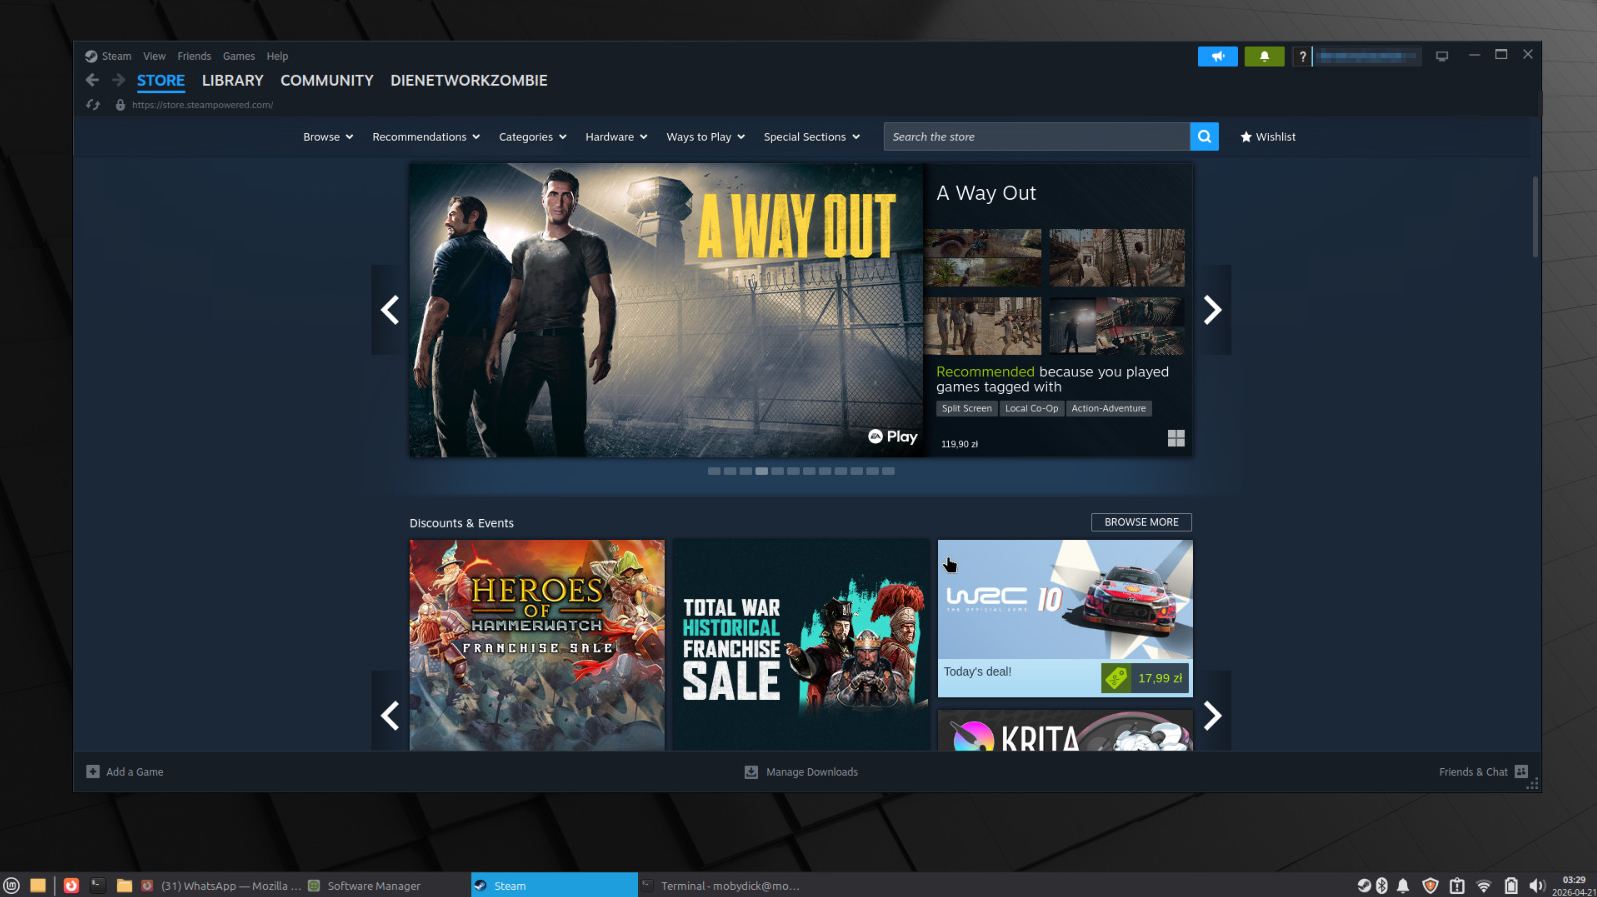
Steam runs on Linux. The installation takes one command or a click in the Software Manager. Valve has been investing in Linux gaming for years through Proton, a compatibility layer that runs a large portion of the Windows Steam catalog on Linux without any configuration. You don’t set anything up, you just enable it in Steam settings and install games normally.
This machine won’t run anything graphically demanding. The Intel UHD 620 is not a gaming GPU. But for indie titles, older games, 2D games, and anything in the “Verified on Steam Deck” catalog designed for low power hardware, it works. Stardew Valley, Terraria, Celeste, and thousands of others run on this hardware without issue.
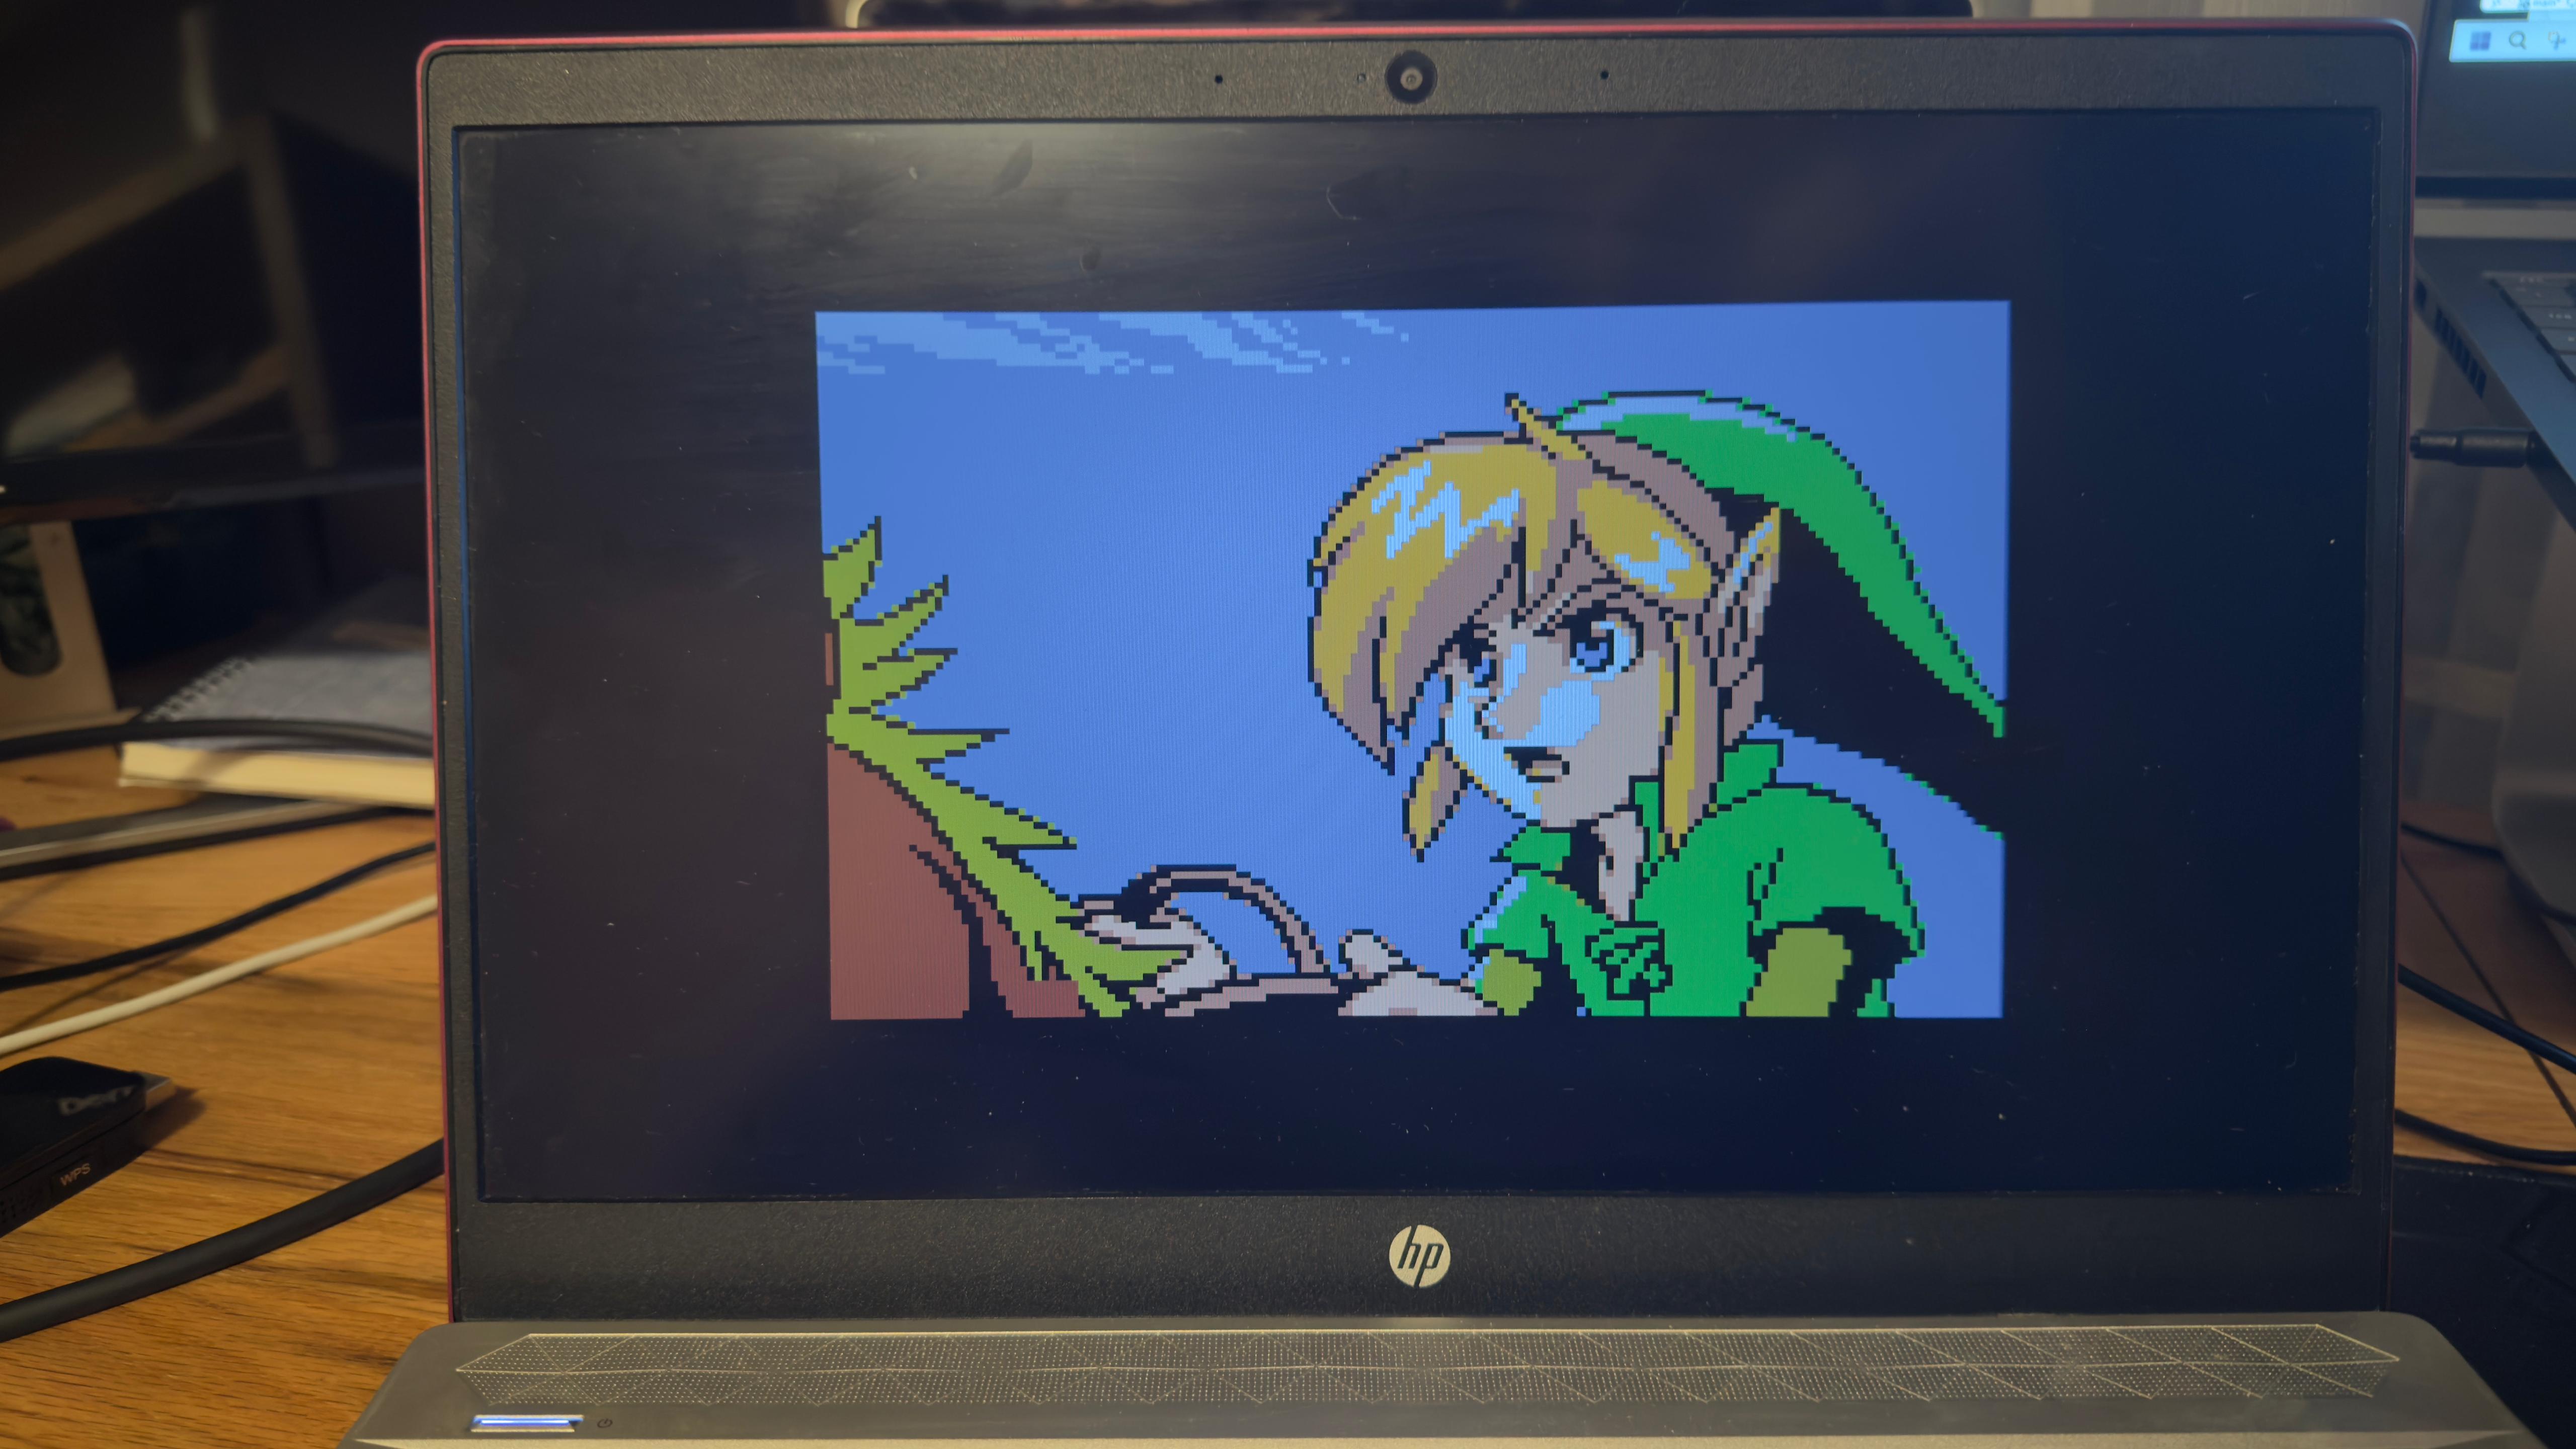
Emulation is another angle worth mentioning. RetroArch runs well on this CPU and handles anything up to PlayStation 1 and Nintendo 64 without effort. If retro gaming is something the machine will be used for, it handles it.
What Doesn’t Work
Being honest about the limitations matters.
Windows-only applications won’t run natively. If the person using the machine depends on specific Windows software that has no Linux equivalent and doesn’t run in a browser, this approach won’t work for them. Check before switching.
Microsoft Office isn’t available as a native app. LibreOffice handles most formats correctly, but if you live in a heavily formatted Word or Excel environment and compatibility matters down to the pixel, there will be occasional friction. The browser-based version of Microsoft 365 works on Linux just like anywhere else.
Hardware compatibility is generally good on this machine, but it’s not guaranteed across all hardware. Always run the live session before committing to the install.
The Escape Hatch
If Mint doesn’t work out, you can reinstall Windows 11 at any time. Download the Windows 11 ISO from Microsoft, create a bootable USB using the Media Creation Tool, boot from it, and install. Your digital license is tied to the hardware and will reactivate automatically on the same machine. Nothing is permanent here.
Closing
That laptop was weeks away from a drawer. Now it boots in 35 seconds, runs what she needs, and hasn’t frozen once since the install. The cost was zero, an afternoon, and a 64 GB USB drive that was already sitting in a drawer.
The “Linux is complicated” reputation is mostly a holdover from a decade ago. Mint specifically has been designed to lower that barrier. If the hardware is still functional and Windows has become the problem, it’s worth the afternoon to find out.
She probably still won’t use it. But at this point it doubles as a perfectly capable Linux test bench, so I’ll call that a win either way.